The Blog

Recent posts
Categories
I wanted to talk about quality and why I chose Queensberry to print and frame my work.
Generally you purchase a fine art photo because it emotionally says something to you and makes you feel happy to look at it. And you want it to last.
I wanted to offer artworks that will last and that are printed on top quality papers, with the same care and attention that I took to making the photo.
Although the printers don’t have to sit out in all weathers waiting for the right light or returning to a spot again and again to get the shot you know is there, I’m sure you get what I mean. They are professionals in their field and are very experienced and creative.
This will sound like an ad for Queensberry and I guess it is because we work together and if the company printing and framing my work isn’t up to the standard I want, then my work doesn’t look good and I won’t want to offer it to my clients.
Queensberry is a family company, they have been operating in New Zealand with clients from all over the world for over 50 years. Nothing is too much trouble for them to help the client achieve what they need.
Their products are handmade to order, and they are very proud to deliver their world class products.
And I am proud to offer their work, knowing that my clients will receive the best.
The heart of every fine art image is the printed image and the stock it's printed on.
Queensberry card and paper stocks are chosen for their quality, durability, appearance, and suitability for purpose. All are pH-buffered to ensure they remain acid-free over a lifetime.
I offer two beautiful paper stocks, 100% cotton rag papers are museum quality mould made papers and are the perfect choice for crisp detail. Fine Art Paper is a high quality stock, slightly lighter than cotton rag and producing a professional, conservation quality art print.
I also offer loose matted prints, these are printed with one of the two beautiful papers mentioned above and arrive fully assembled, with a protective cover sheet, ready to frame in a frame of your choice if you wish or if you wish to give these as a gift the recipient can choose a frame of their choice.
These are available in 10in x 8in mats and 14in x 11in mats.
Canvas prints are offered in two ranges. Fine Art which is a cotton polyester canvas, fine art inkjet printing and museum grade lacquer (this gives a lustre finish, protects against moisture and UV damage, but don’t sit your artworks in sunllight). The Standard canvas is another cotton polyester canvas, with long life latex inkjet printing and a museum grade lacquer as above.
I know I go on about quality but it's so important to me and I hope my clients. The details are perhaps too much but I want to emphasise how important it is.
If you purchase a quality product that will last for years and can be passed down to the next generation if you wish, what more can you ask for from your artworks.


loading...


loading...


loading...


loading...


loading...


loading...


loading...


loading...


loading...


loading...


loading...


loading...


Spring arrived today and I think we had more snow in some South Island areas today than during winter.
The joys of a New Zealand spring.
I thought I would write today about taking photos in the snow and some do's and don'ts of photographing your dog. With examples of both.
Your camera tries to make your images an average 18% grey. Which means that especially when photographing snow on a sunny day, the photos will often come out a dull grey colour. Especially if you are letting your camera do the deciding on exposure. The camera wants to average the exposure so will lower it to compensate for all that bright white light.
One way to help with this is to bump up your exposure. Sounds funny to overexpose an image in the snow, trust me, give it a try. You could add about 1/3 to 2/3 on your exposure compensation dial and see how that looks.
Mobile phones aren't forgotten here, to lift the exposure on many smartphones you hold your finger on the screen and push it up to raise the exposure, and push it down to lower it. A very handy little trick. This is often linked to the focus area and where you touch will also be where the phone will focus.
I have put some older photos of my dog Raz in the snow to talk about photographing dogs, the snow pics I thought were apt on such a snowy day. These hints apply to any dog photography.
Many people tell me their action shots are blurry.
The shutter speed needs to be high enough to capture the action without blurring, raise the ISO if you need to and this will give you a faster shutter speed and you can also use a wider aperature which will raise the shutter speed.
Shoot in close and make your dog the focus of the scene. Its hard to see them if they are off in the distance and you may be able to crop the image or it might be easier to just shoot in closer.
The first image is of Raz up nice and close and the focus of the shot.
The second is Raz leaping in the air and catching the ball, a nice shot, but I was a bit too close and I should have left more space at the top.
The third shot doesn't tell much of a story. What is she catching? You can't see the ball so its confusing. Actually she has missed the ball and its just beside her neck, but the image doesn't really show that.
Image four is Raz on her front legs, never a flattering shot. You really want the dog coming off the back legs.
Number five is a common mistage many people make, the dog is skidding in the snow, but its bum is to the camera and its too far away.
Number six is a really common mistake, your shadow in the photo. I know its hard to check the around the image when its an action shot, but its not hard to see your shadow is in the image.
I hope this is helpful and if you have any questions please just ask and I will answer if I can.
Happy Spring
Pam x


loading...


I have been asked how people can improve their photography, do they need a better camera? This is a common question.
I feel photography is all about having an eye for a photo, but it can be taught and we can always improve. The gear helps of course, but your point and shoot and cell phone can take amazing photos too. Cell phone images aren't so good for big enlargements, but people often don't want to enlarge their photos into big sizes and look to making photo books or smaller prints.
The best advice I can suggest is to back up your photos, whether they are on your phone or your camera. Take them off your cards and save them. If you lose your phone you have lost hundreds if not thousands of photos, never to be seen again. These memories are so precious and it's so heartbreaking to lose them.
For actual shooting hints, my suggestions are:
Get in close to your subject, you don't have to show the whole person, you can get in close and shoot them from the waist up, showing more of the face and expressions. Fill the frame with the subject, this alone will make your photos so much more interesting. This applies for lots of photography, not just shooting people.
Don't line people up against a wall or fence, pull them away at least a metre, this makes a big different to your shot.
Every time you go to take the photo, just scan the background of the shot, is there a person in the way and you need to wait until they move, a common mistake is a pole looking as though its growing out of a persons head, just move a little or get your subject to move. It doesn't take long to check the background and it really improves your shots.
Ask your subjects to be on a similar focal plane: ie: a similar distance from your camera, often if someone is a lot closer to the camera, they will be in focus and the other won't or the other way around.
Use your focal points to choose where you are focusing, this can be done with a cell phone too. For iphones if you touch on the screen that is where the focus point will be for that shot, and if you hold your finger down and move it up or down it will lighten or darken the image at the same time.
Change your shooting angle. Get down lower or up higher. Shooting your childrens sport? Get lower so you are shooting to their level. Its a good workout for the thigh muscles at the same time.
Finally, practice and more practice and learn your camera controls so you take the photo, not your camera.
I hope these hints are helpful and if you have any other questions, just let me know, I love to hear from you.
Pam x


loading...


loading...


loading...


loading...


loading...


loading...


loading...


loading...

How to choose between Canvases and Framed Prints.
This is a question I am often asked, what are the differences between canvas prints and how do they compare to framed prints. Of course it comes down to a personal preference, your budget, and the area your artwork is to be displayed in.
Some people like the frameless look of canvas and love the fact that they are lighter, expecially in the larger sizes. They have a beautiful texture and colour, bringing a great dimension to your artwork.
A framed image is a traditional look that will always be in style. Some images work better on smooth photographic paper.
So now to discuss plus and minus's.
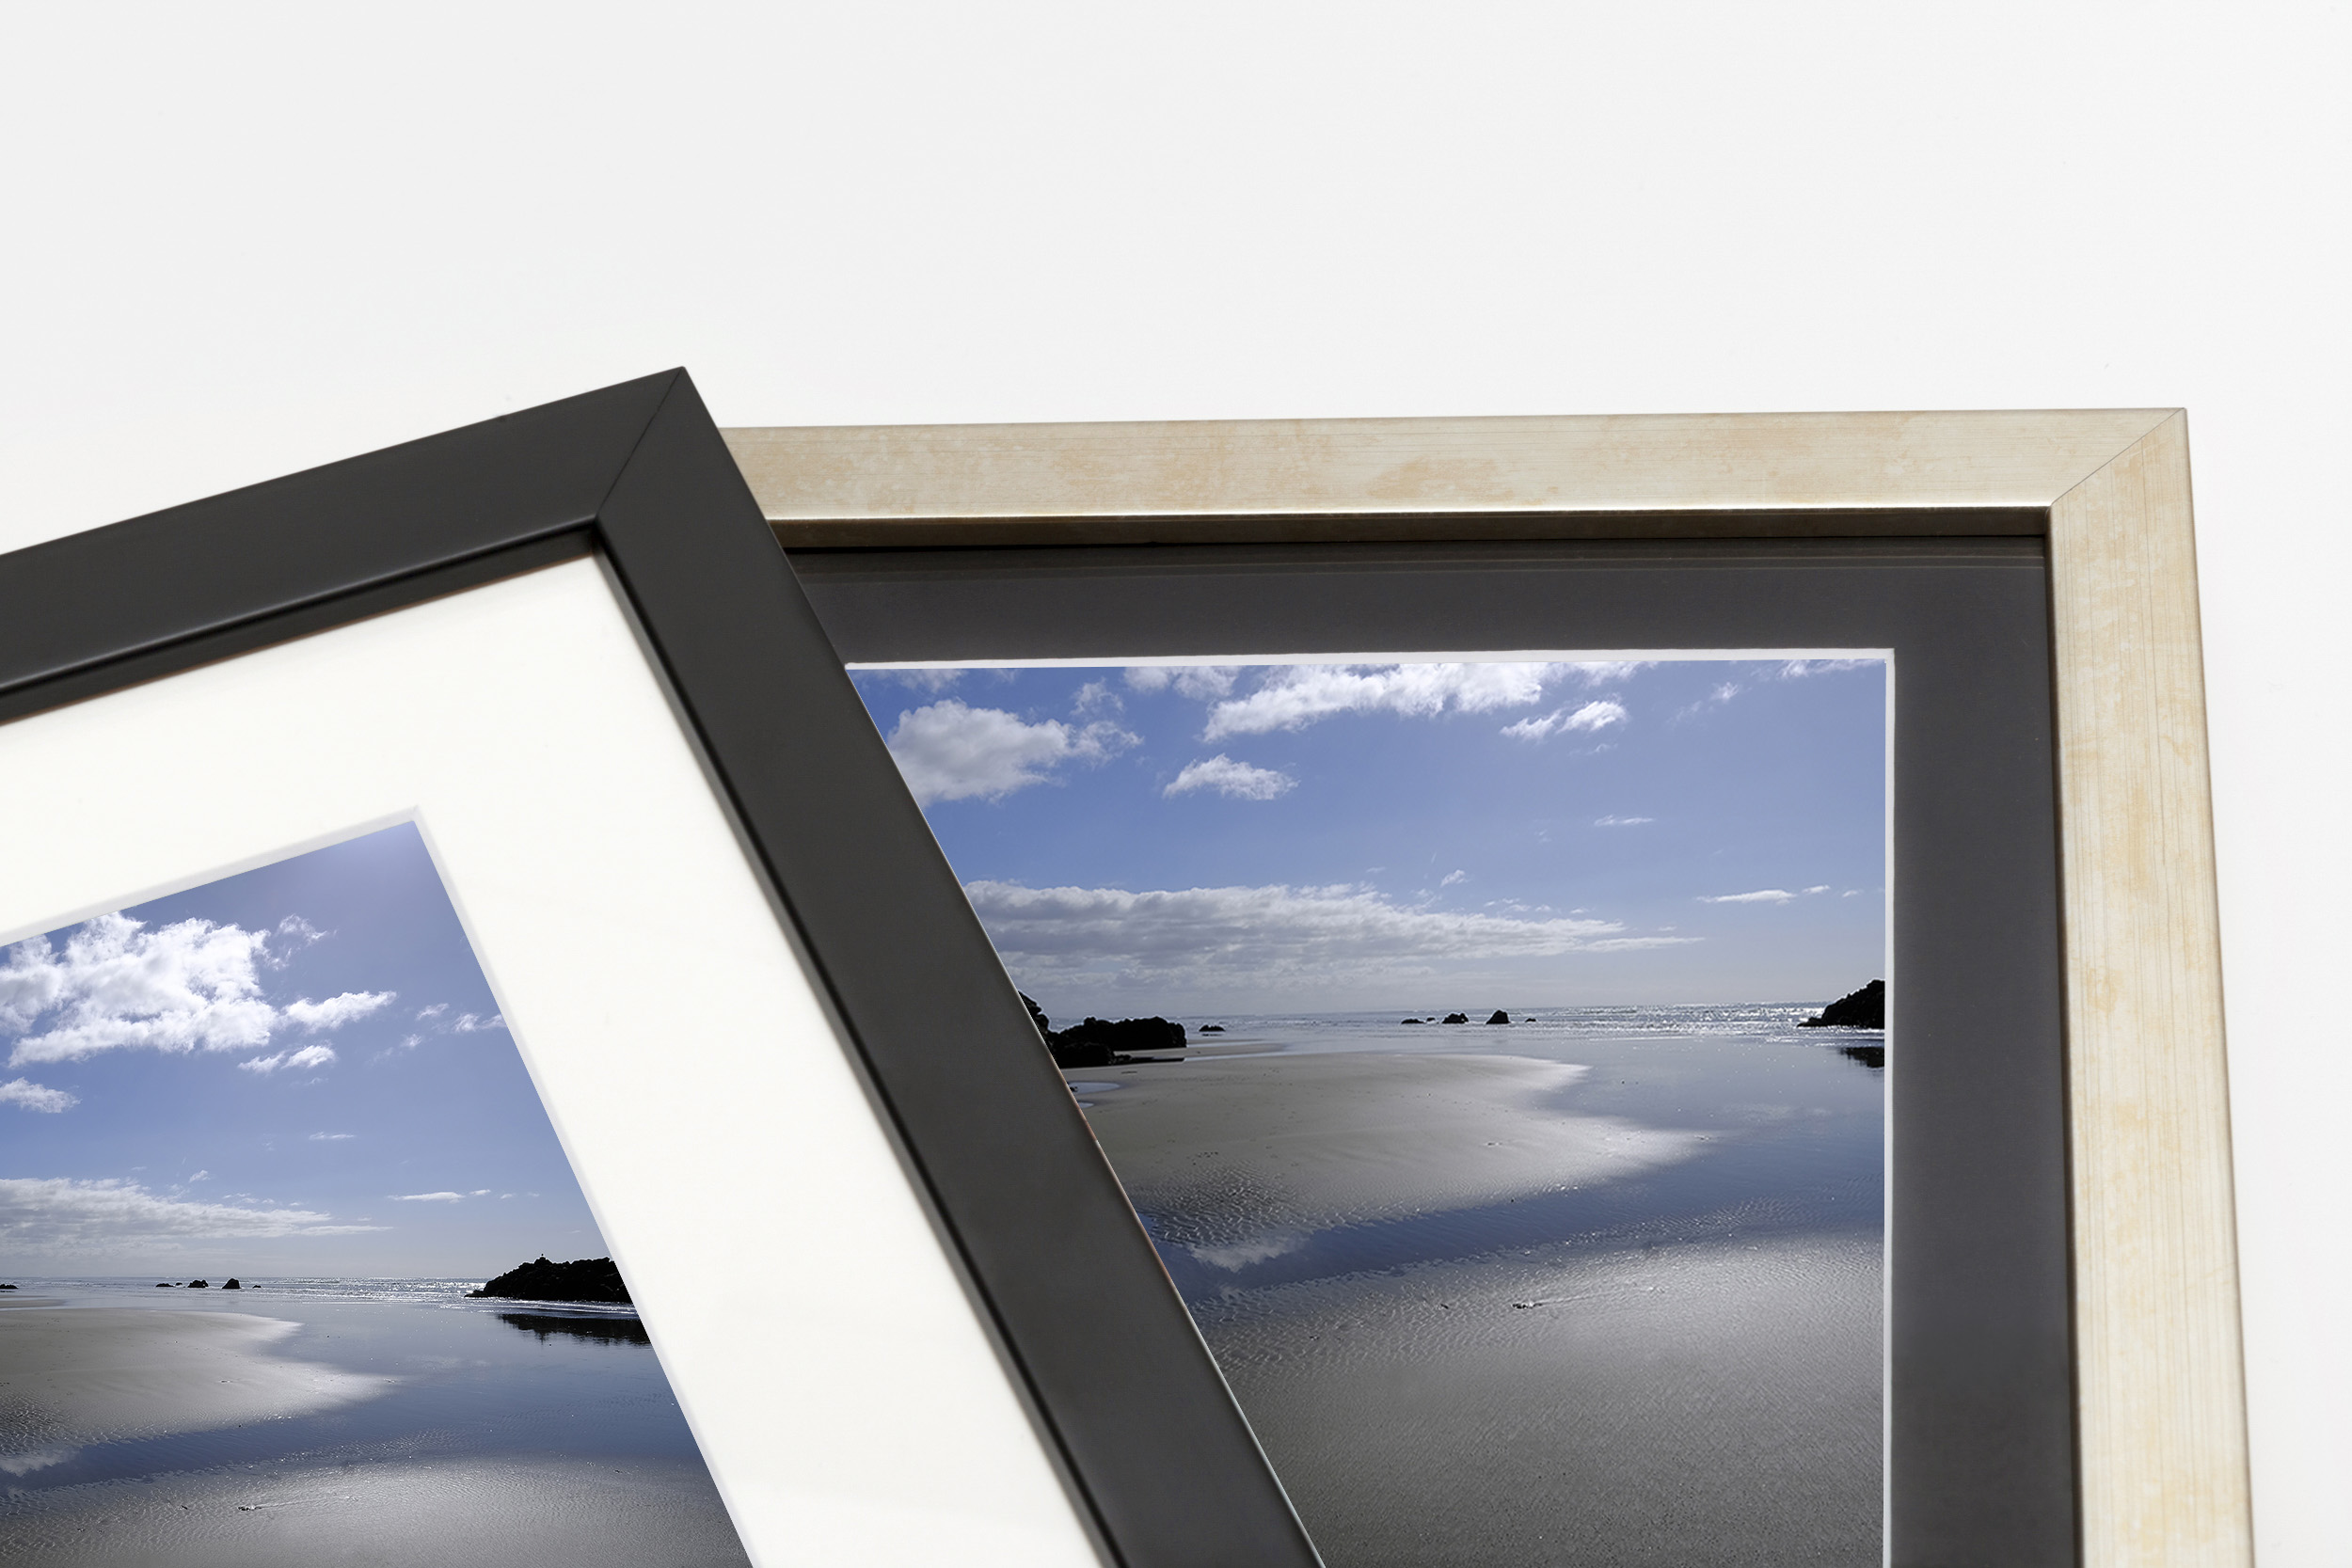
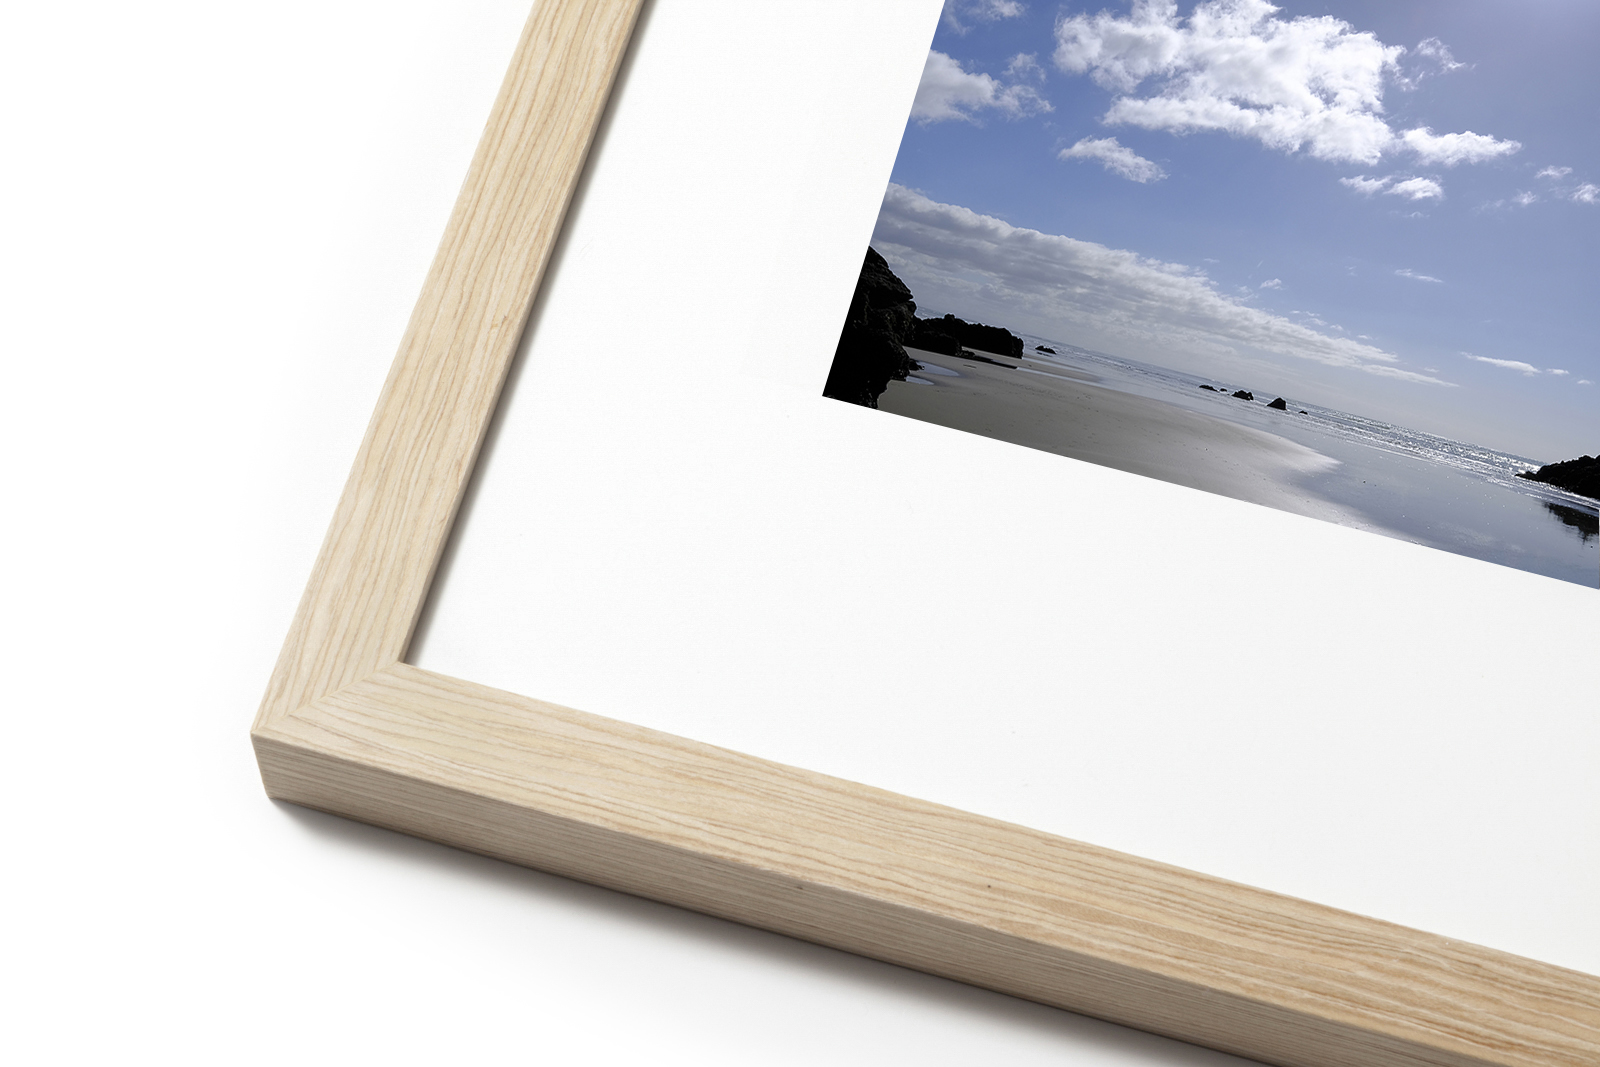
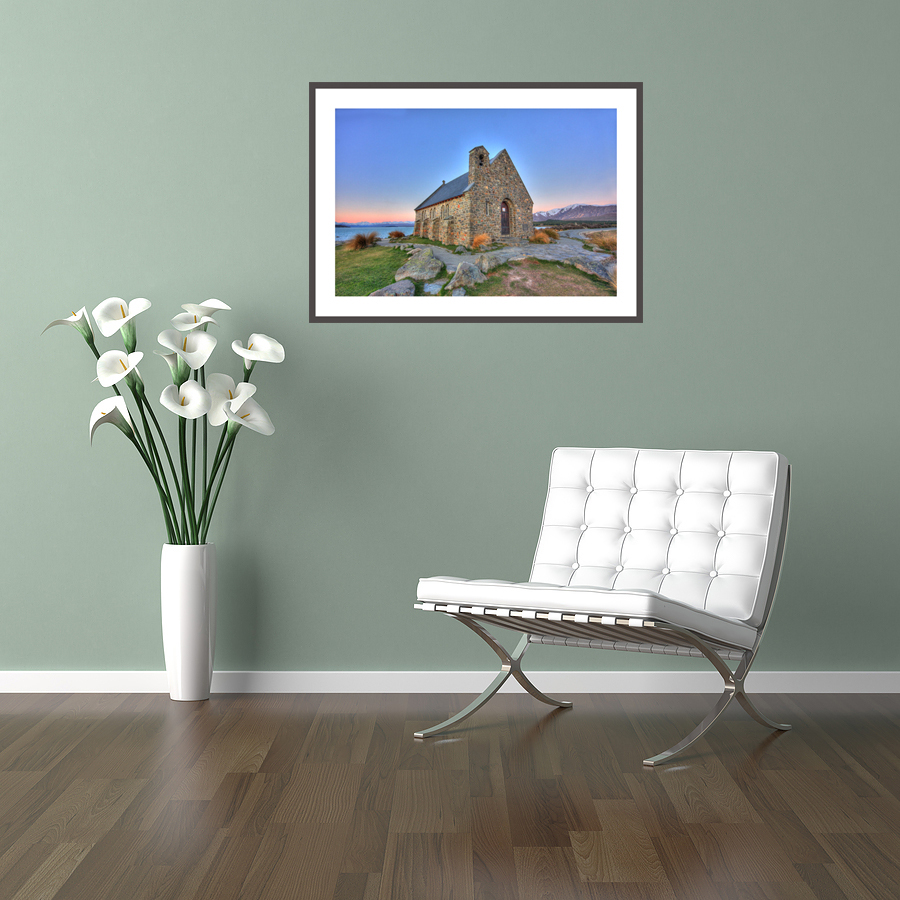
Framed Prints advantages:
- The look and feel is traditional
- Paper prints show more detail than canvas does
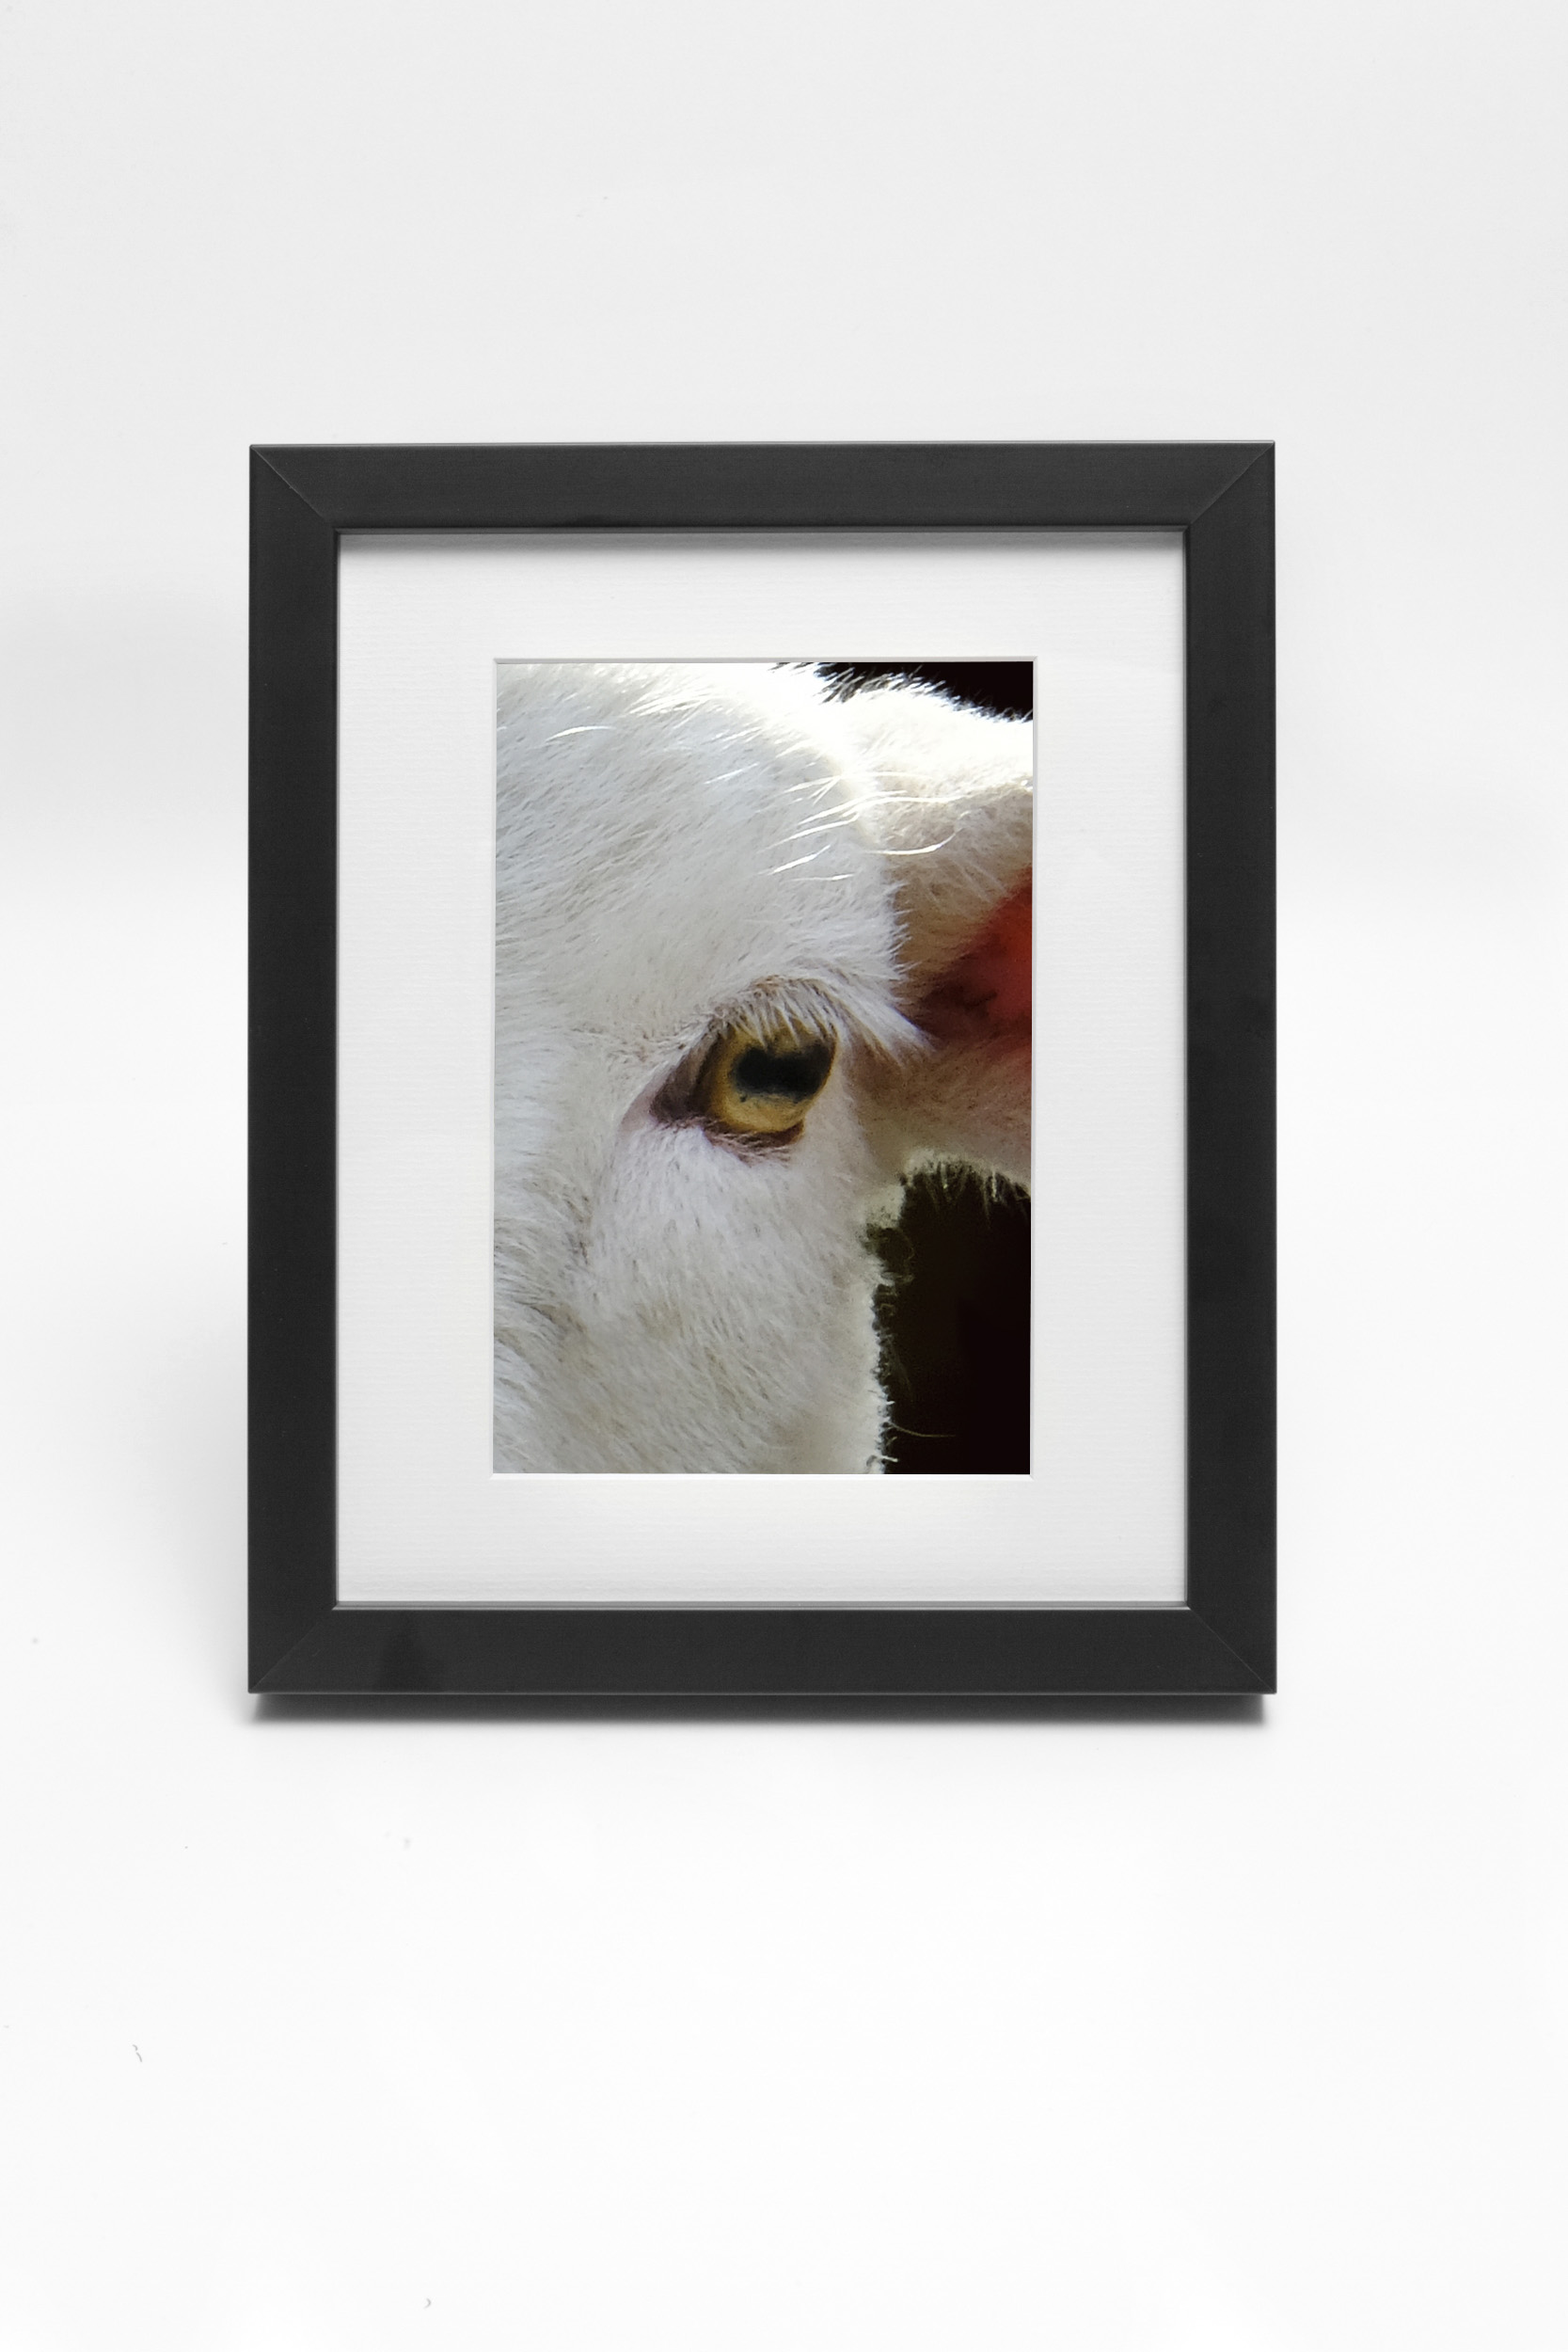
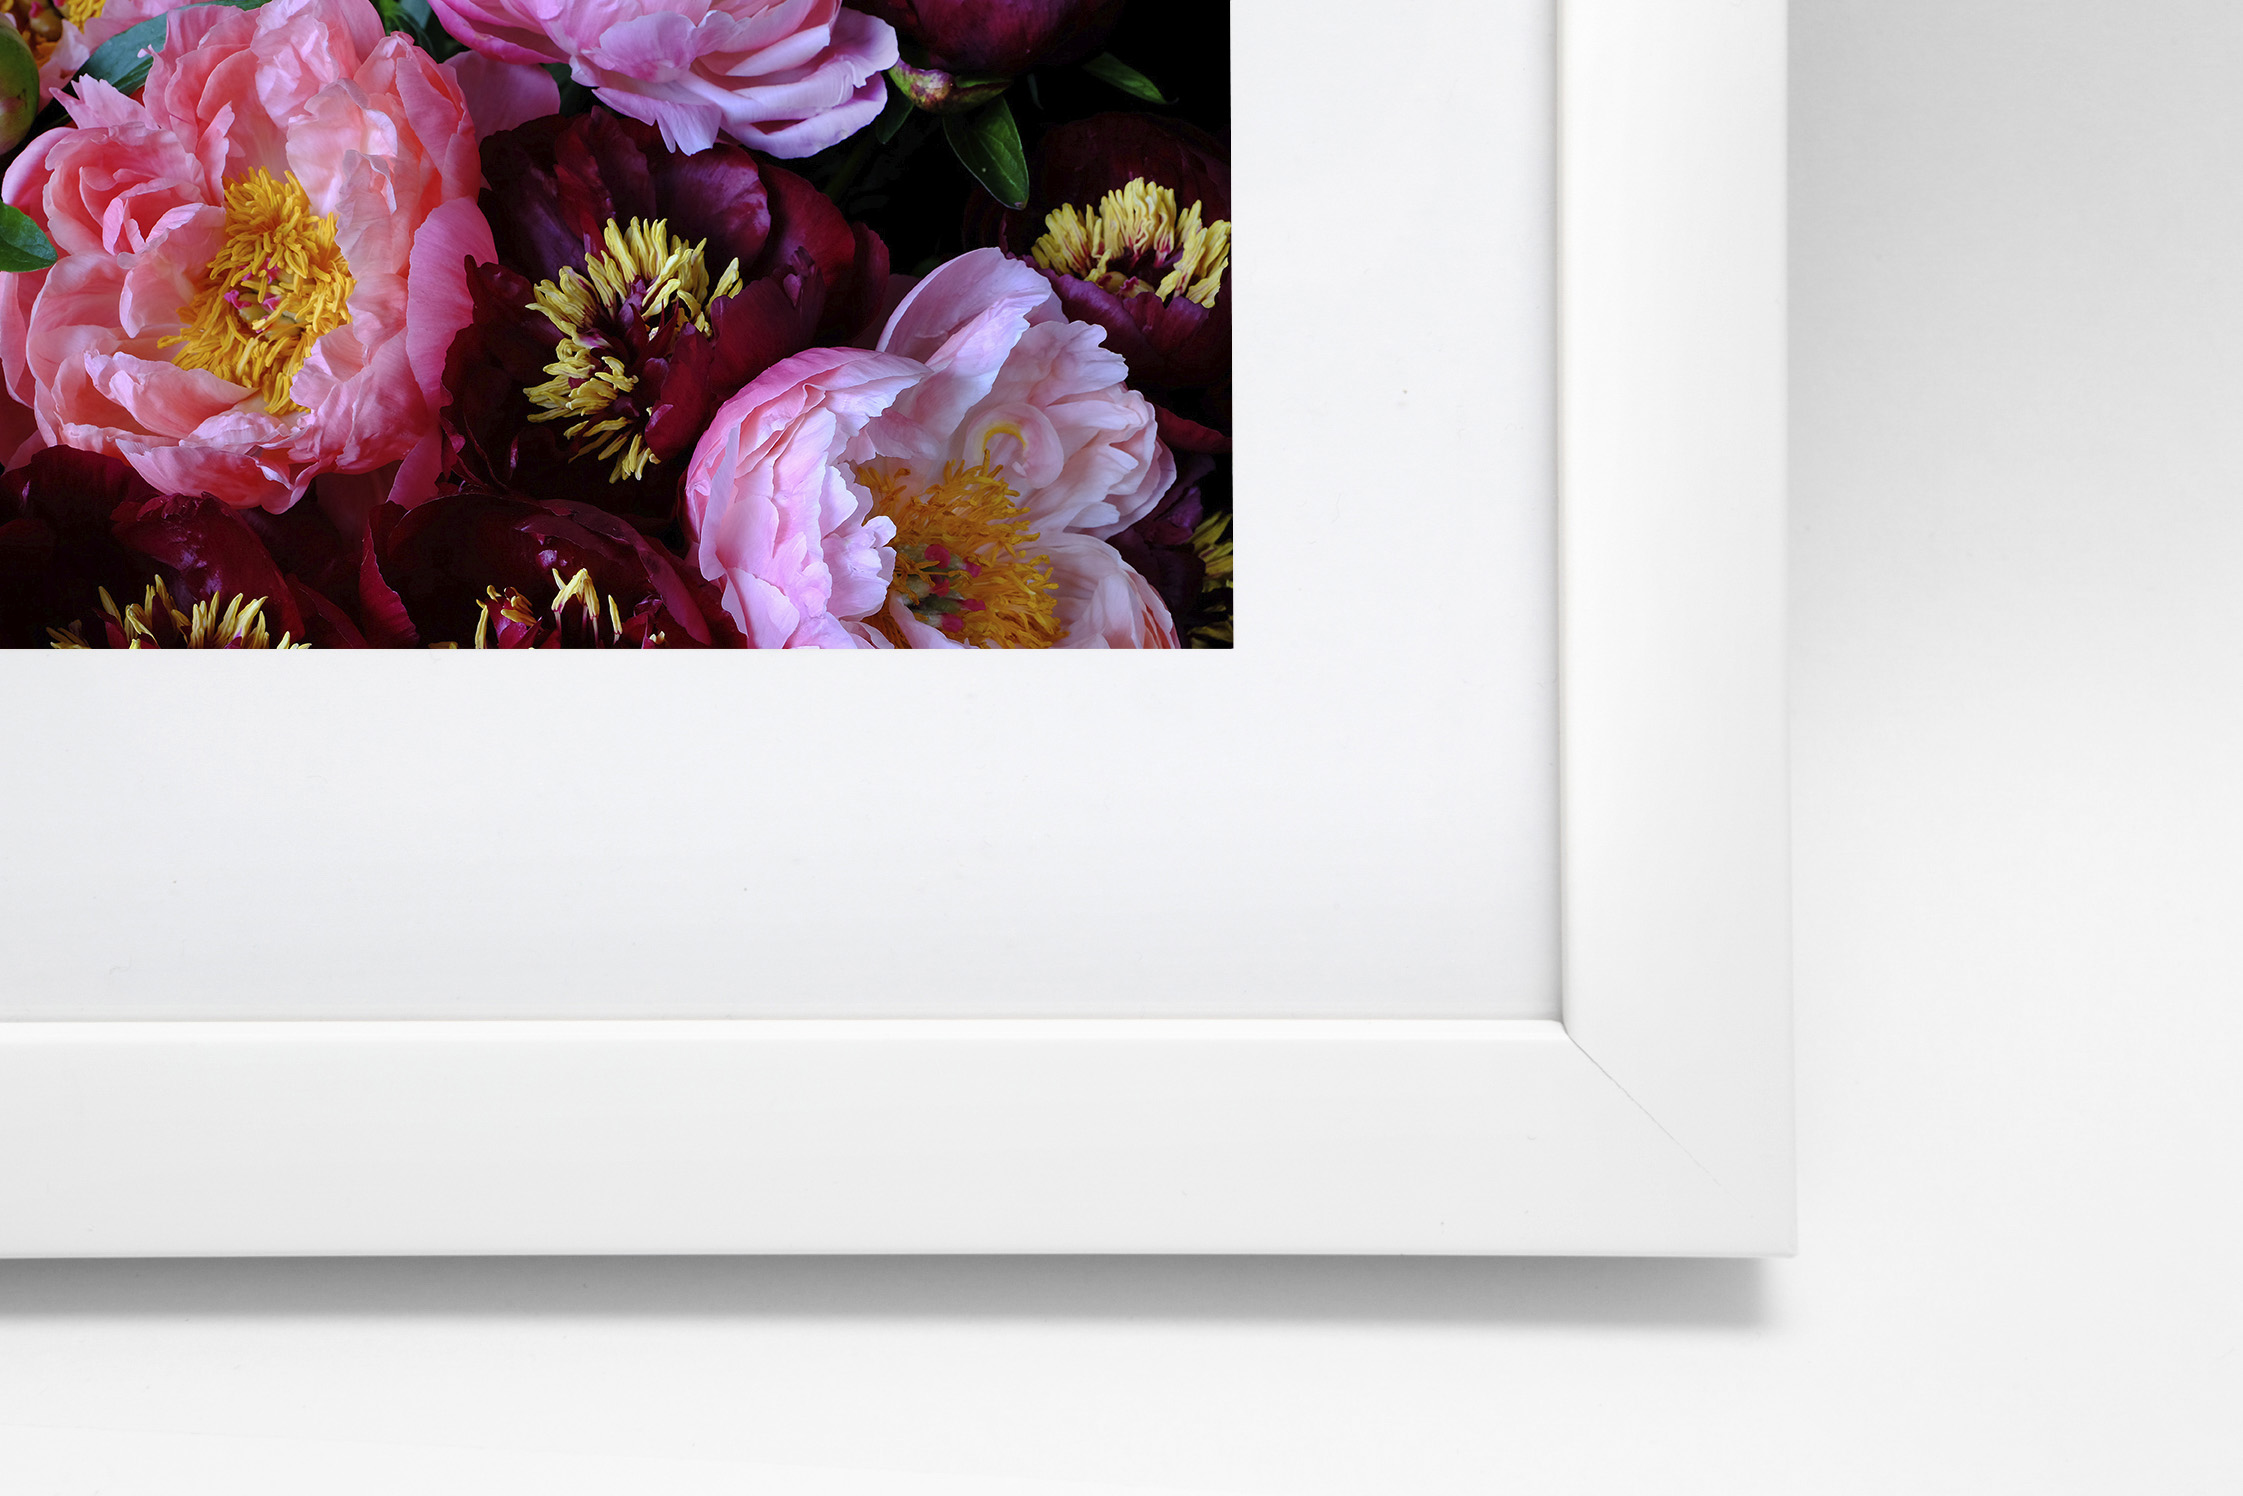
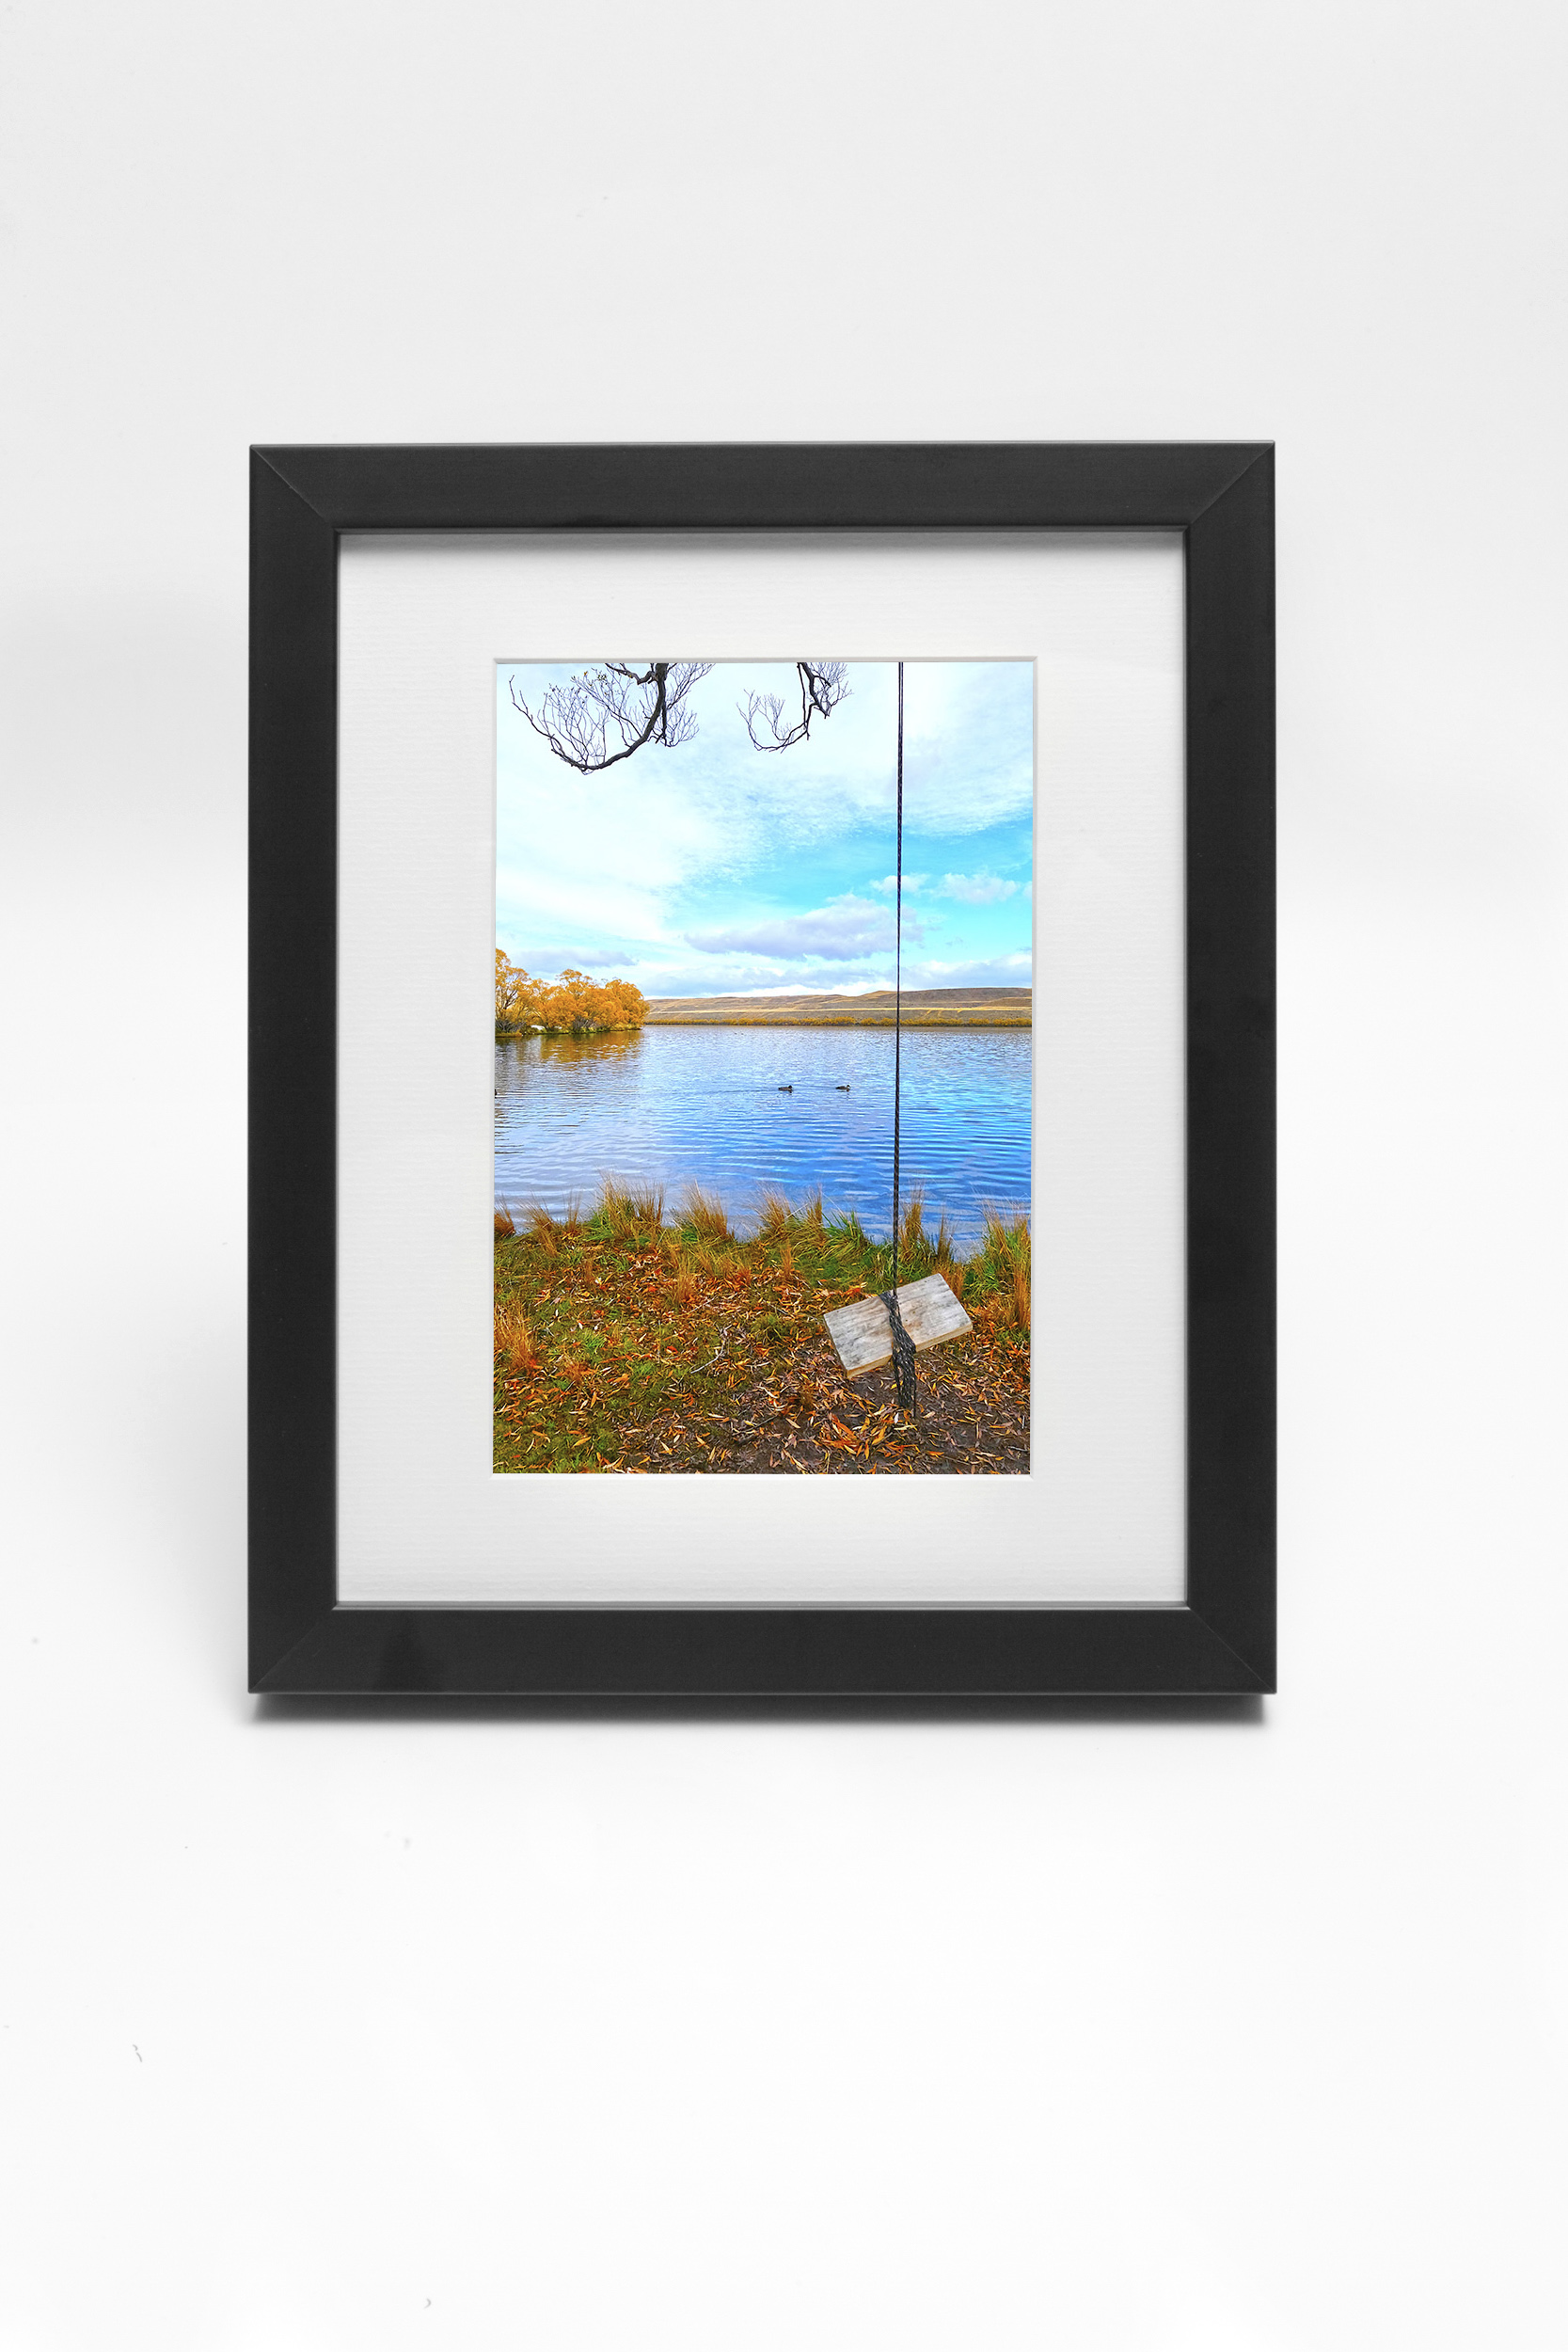
- Frames display an image beautifully, with or without a matt
- The framed image showcases the image inside
The disadvantages are:
-The large sizes can be heavy
-The image size for a certain wall area is a little smaller when you take the matt and frame size into account
-Frames need to match the office or home
-There can be reflections from light
-Keeping out of sunlight (this applies to all artwork)
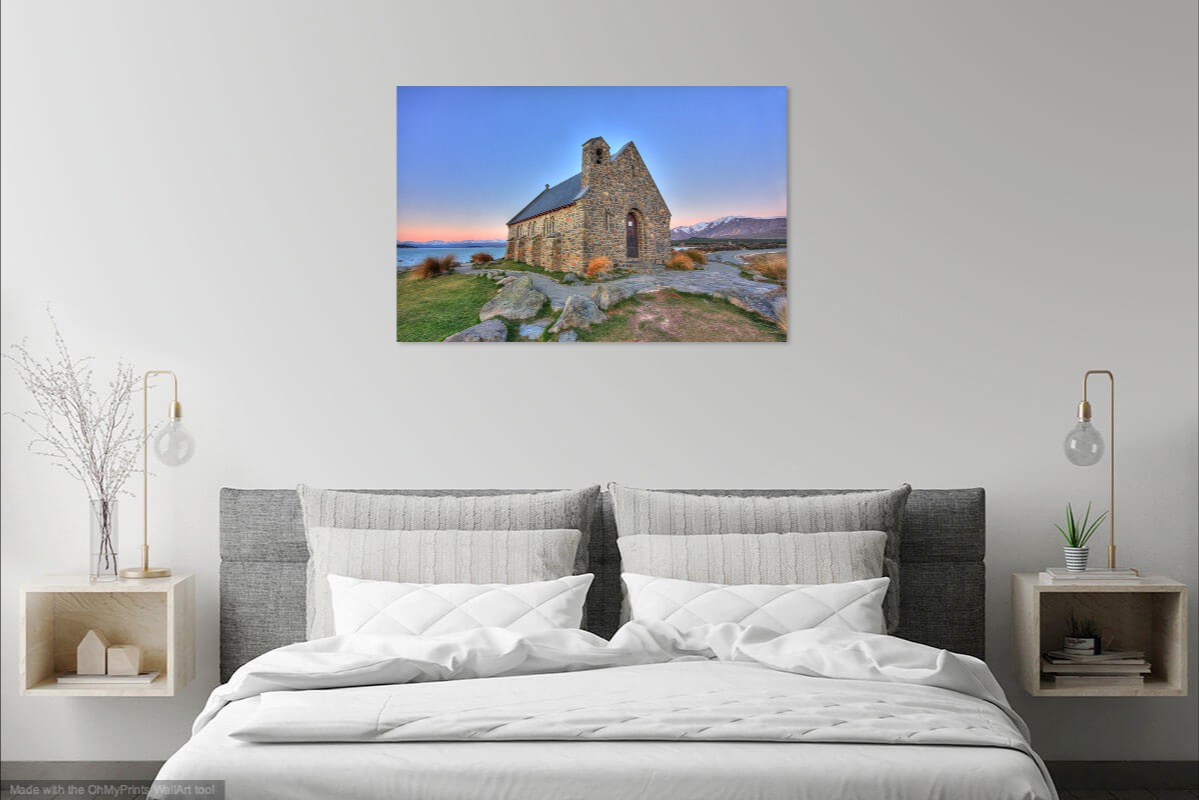
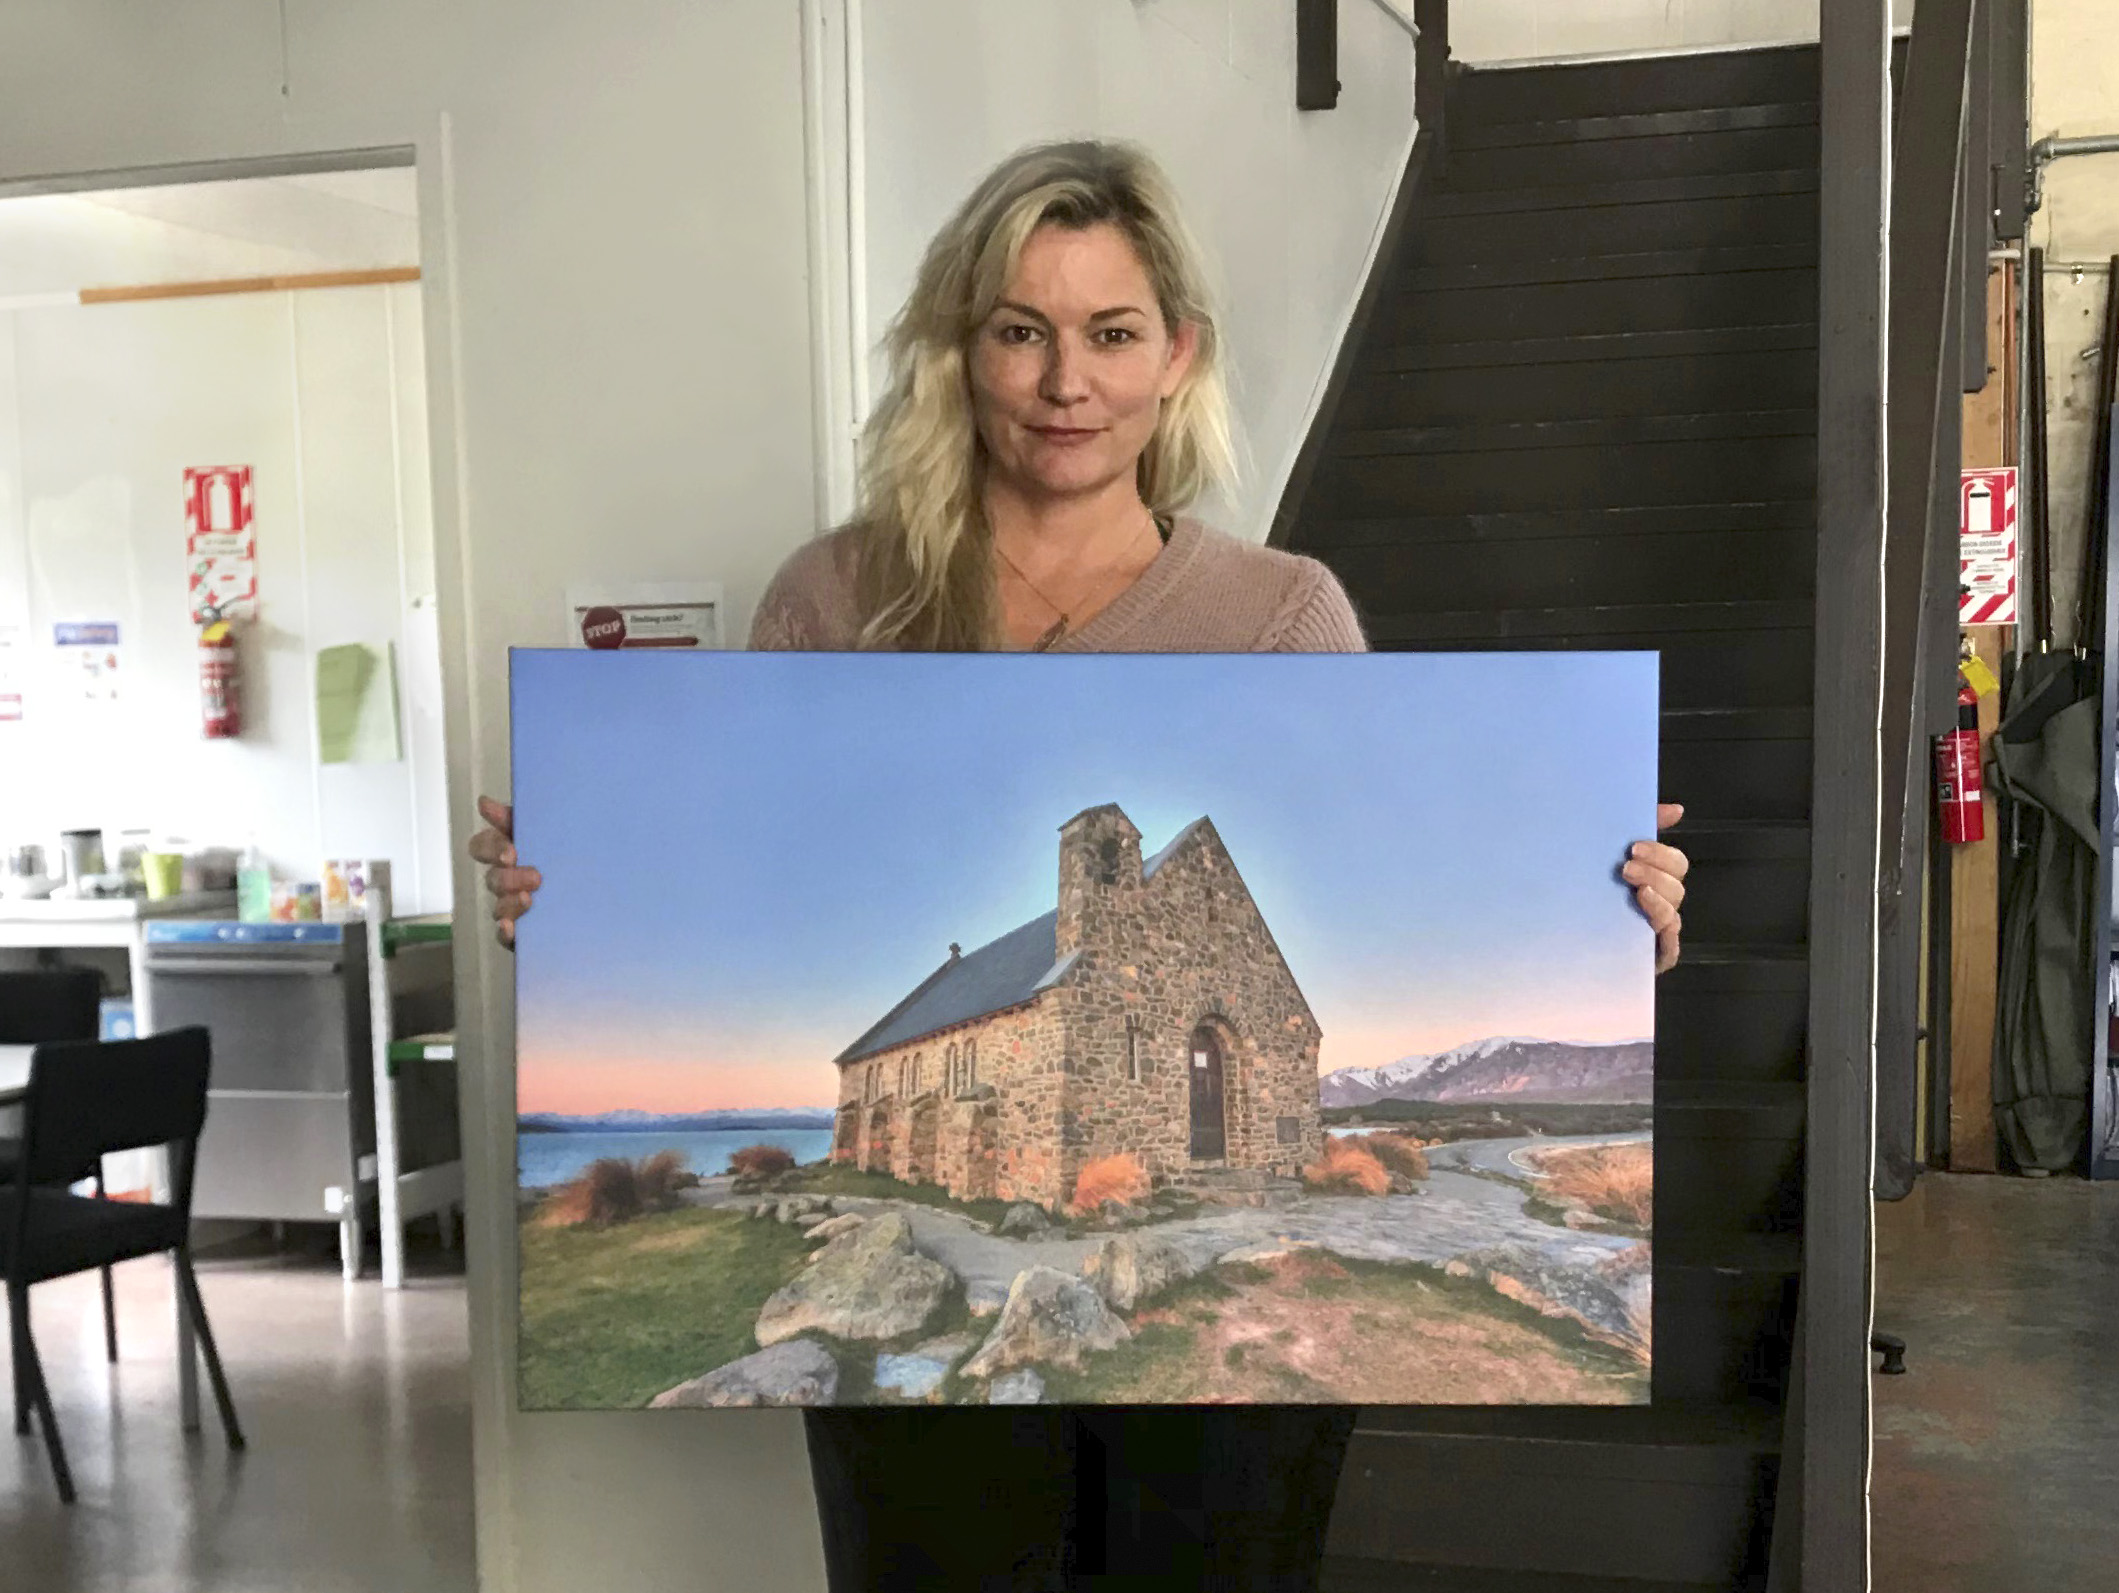
Canvas Prints advantages:
- Canvas prints blend into any home or office style without having to match frames
- Canvas prints don't have glare or reflections
- They are lighter than framed prints
- With no frame you can feel as though you are drawn into the scene
Canvas Prints disadvantages:
- Sometimes the texture can be distracting from the scene.
- The image is permanent, it can't be changed
- Keeping out of sunlight which applies to all artwork.
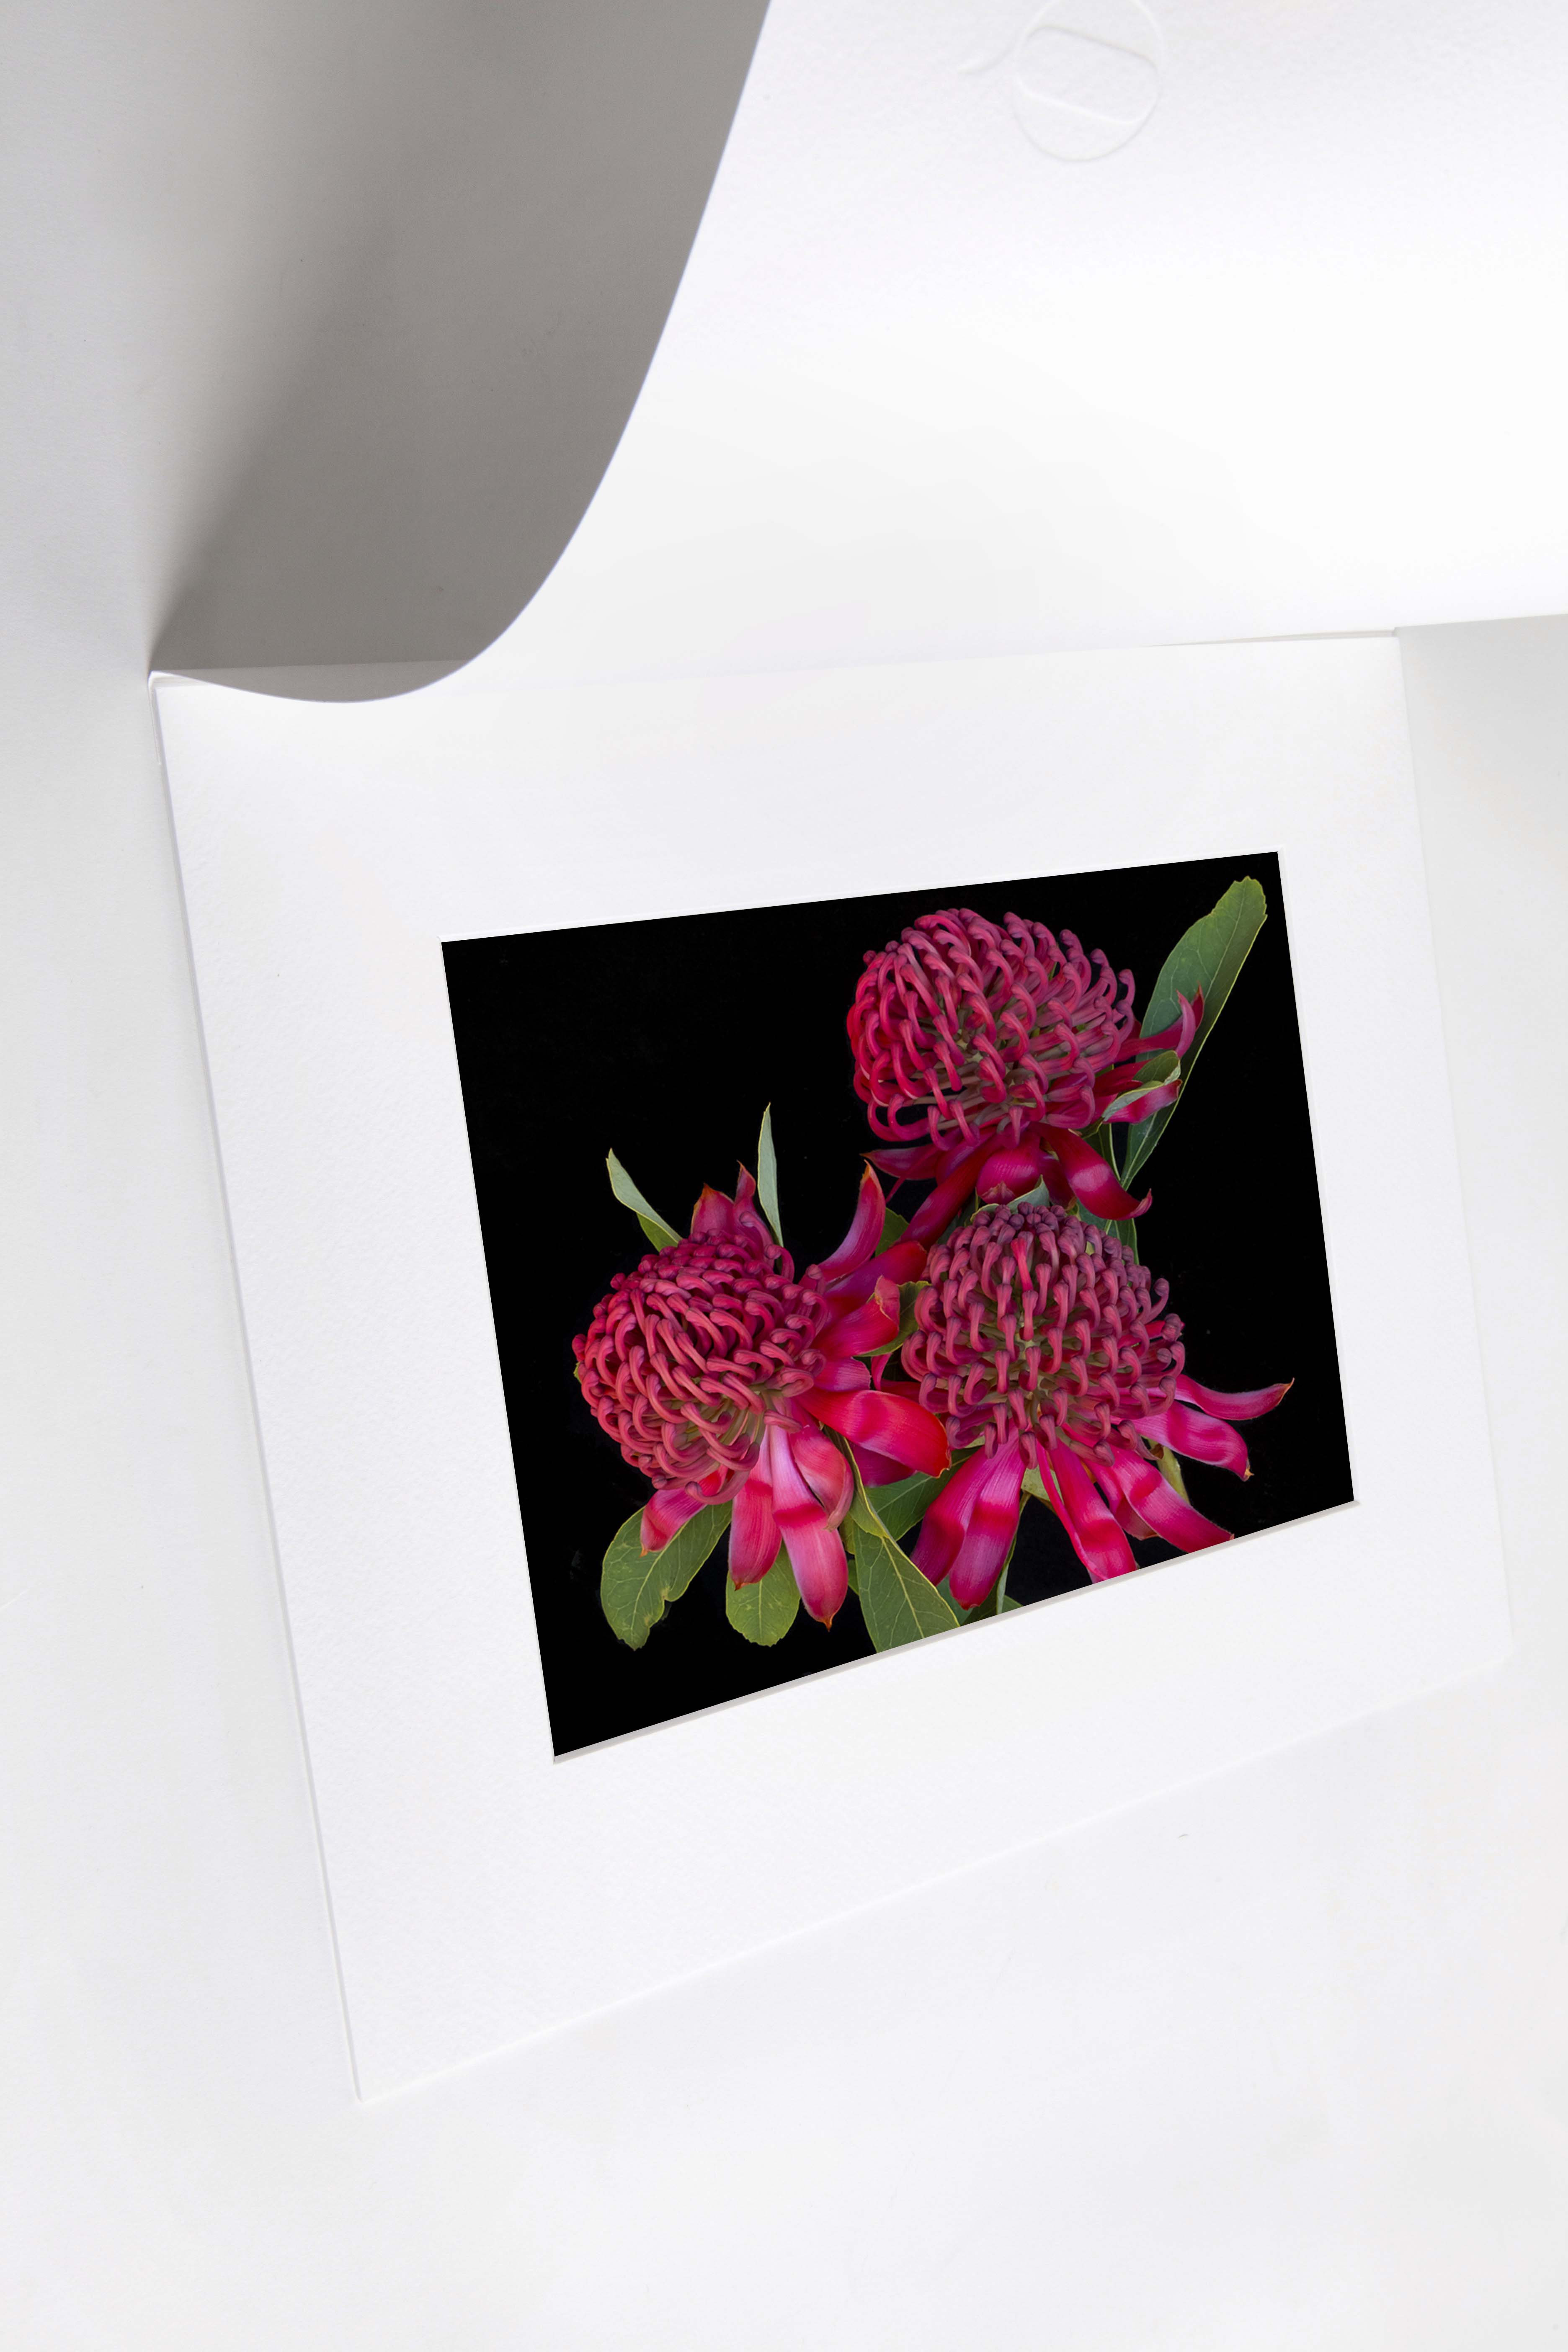
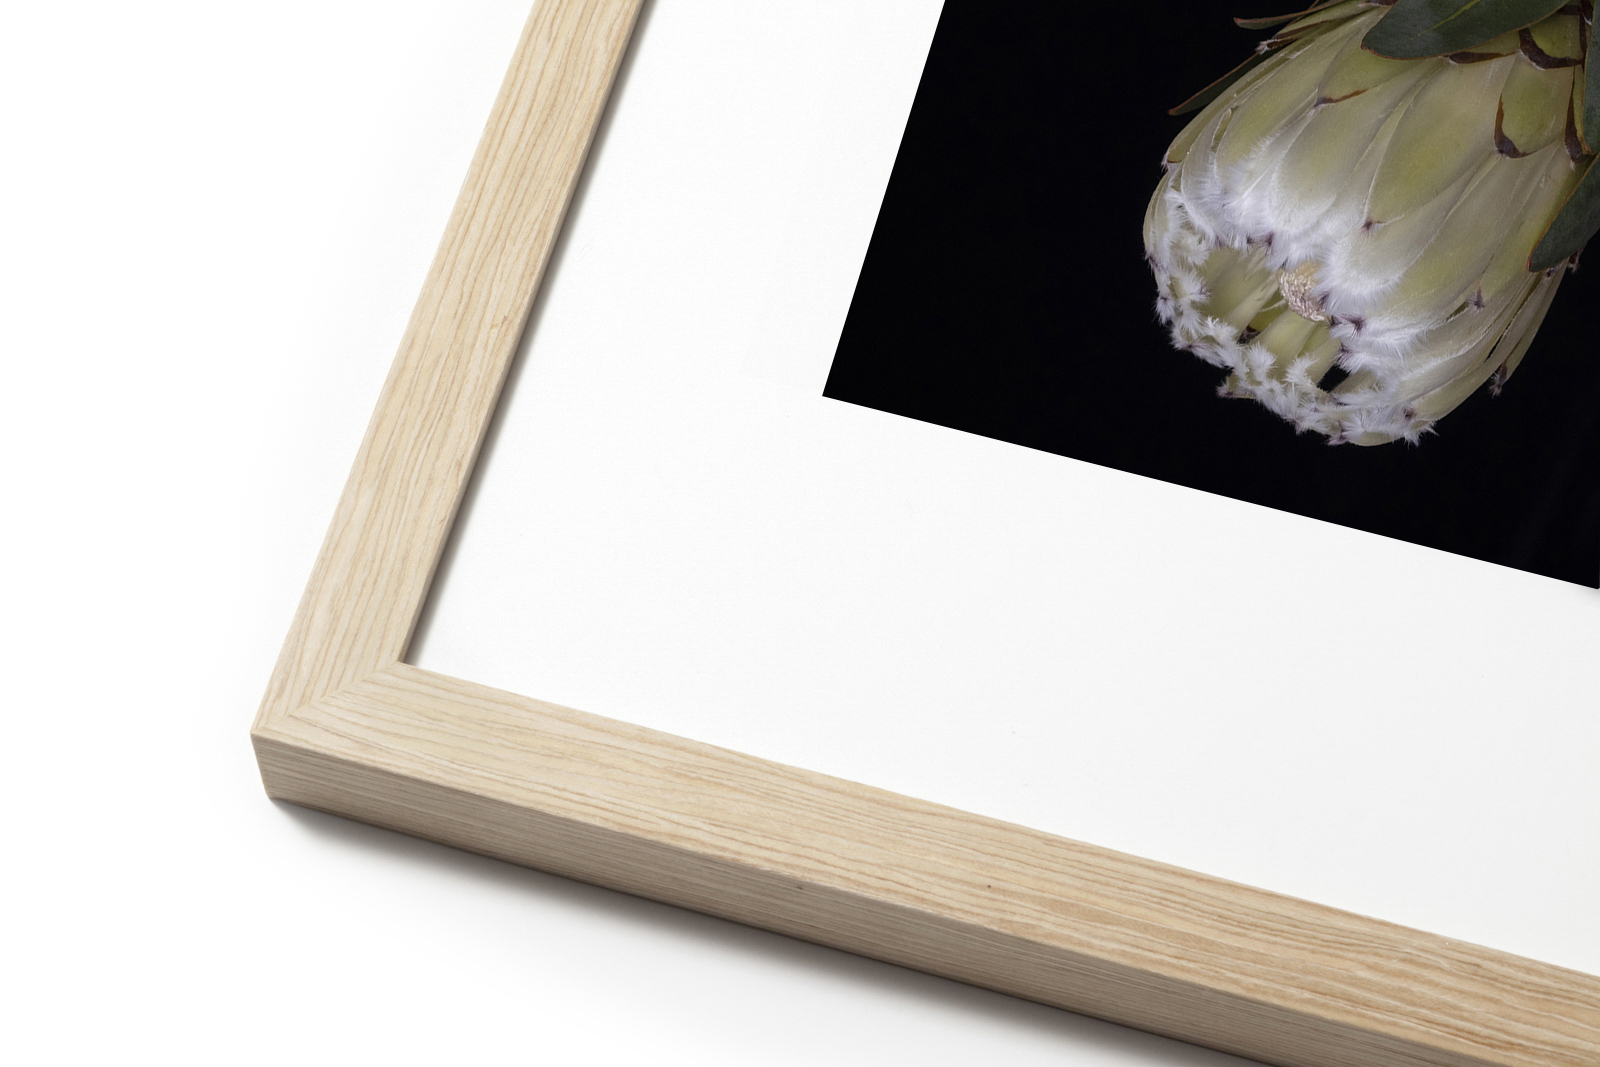
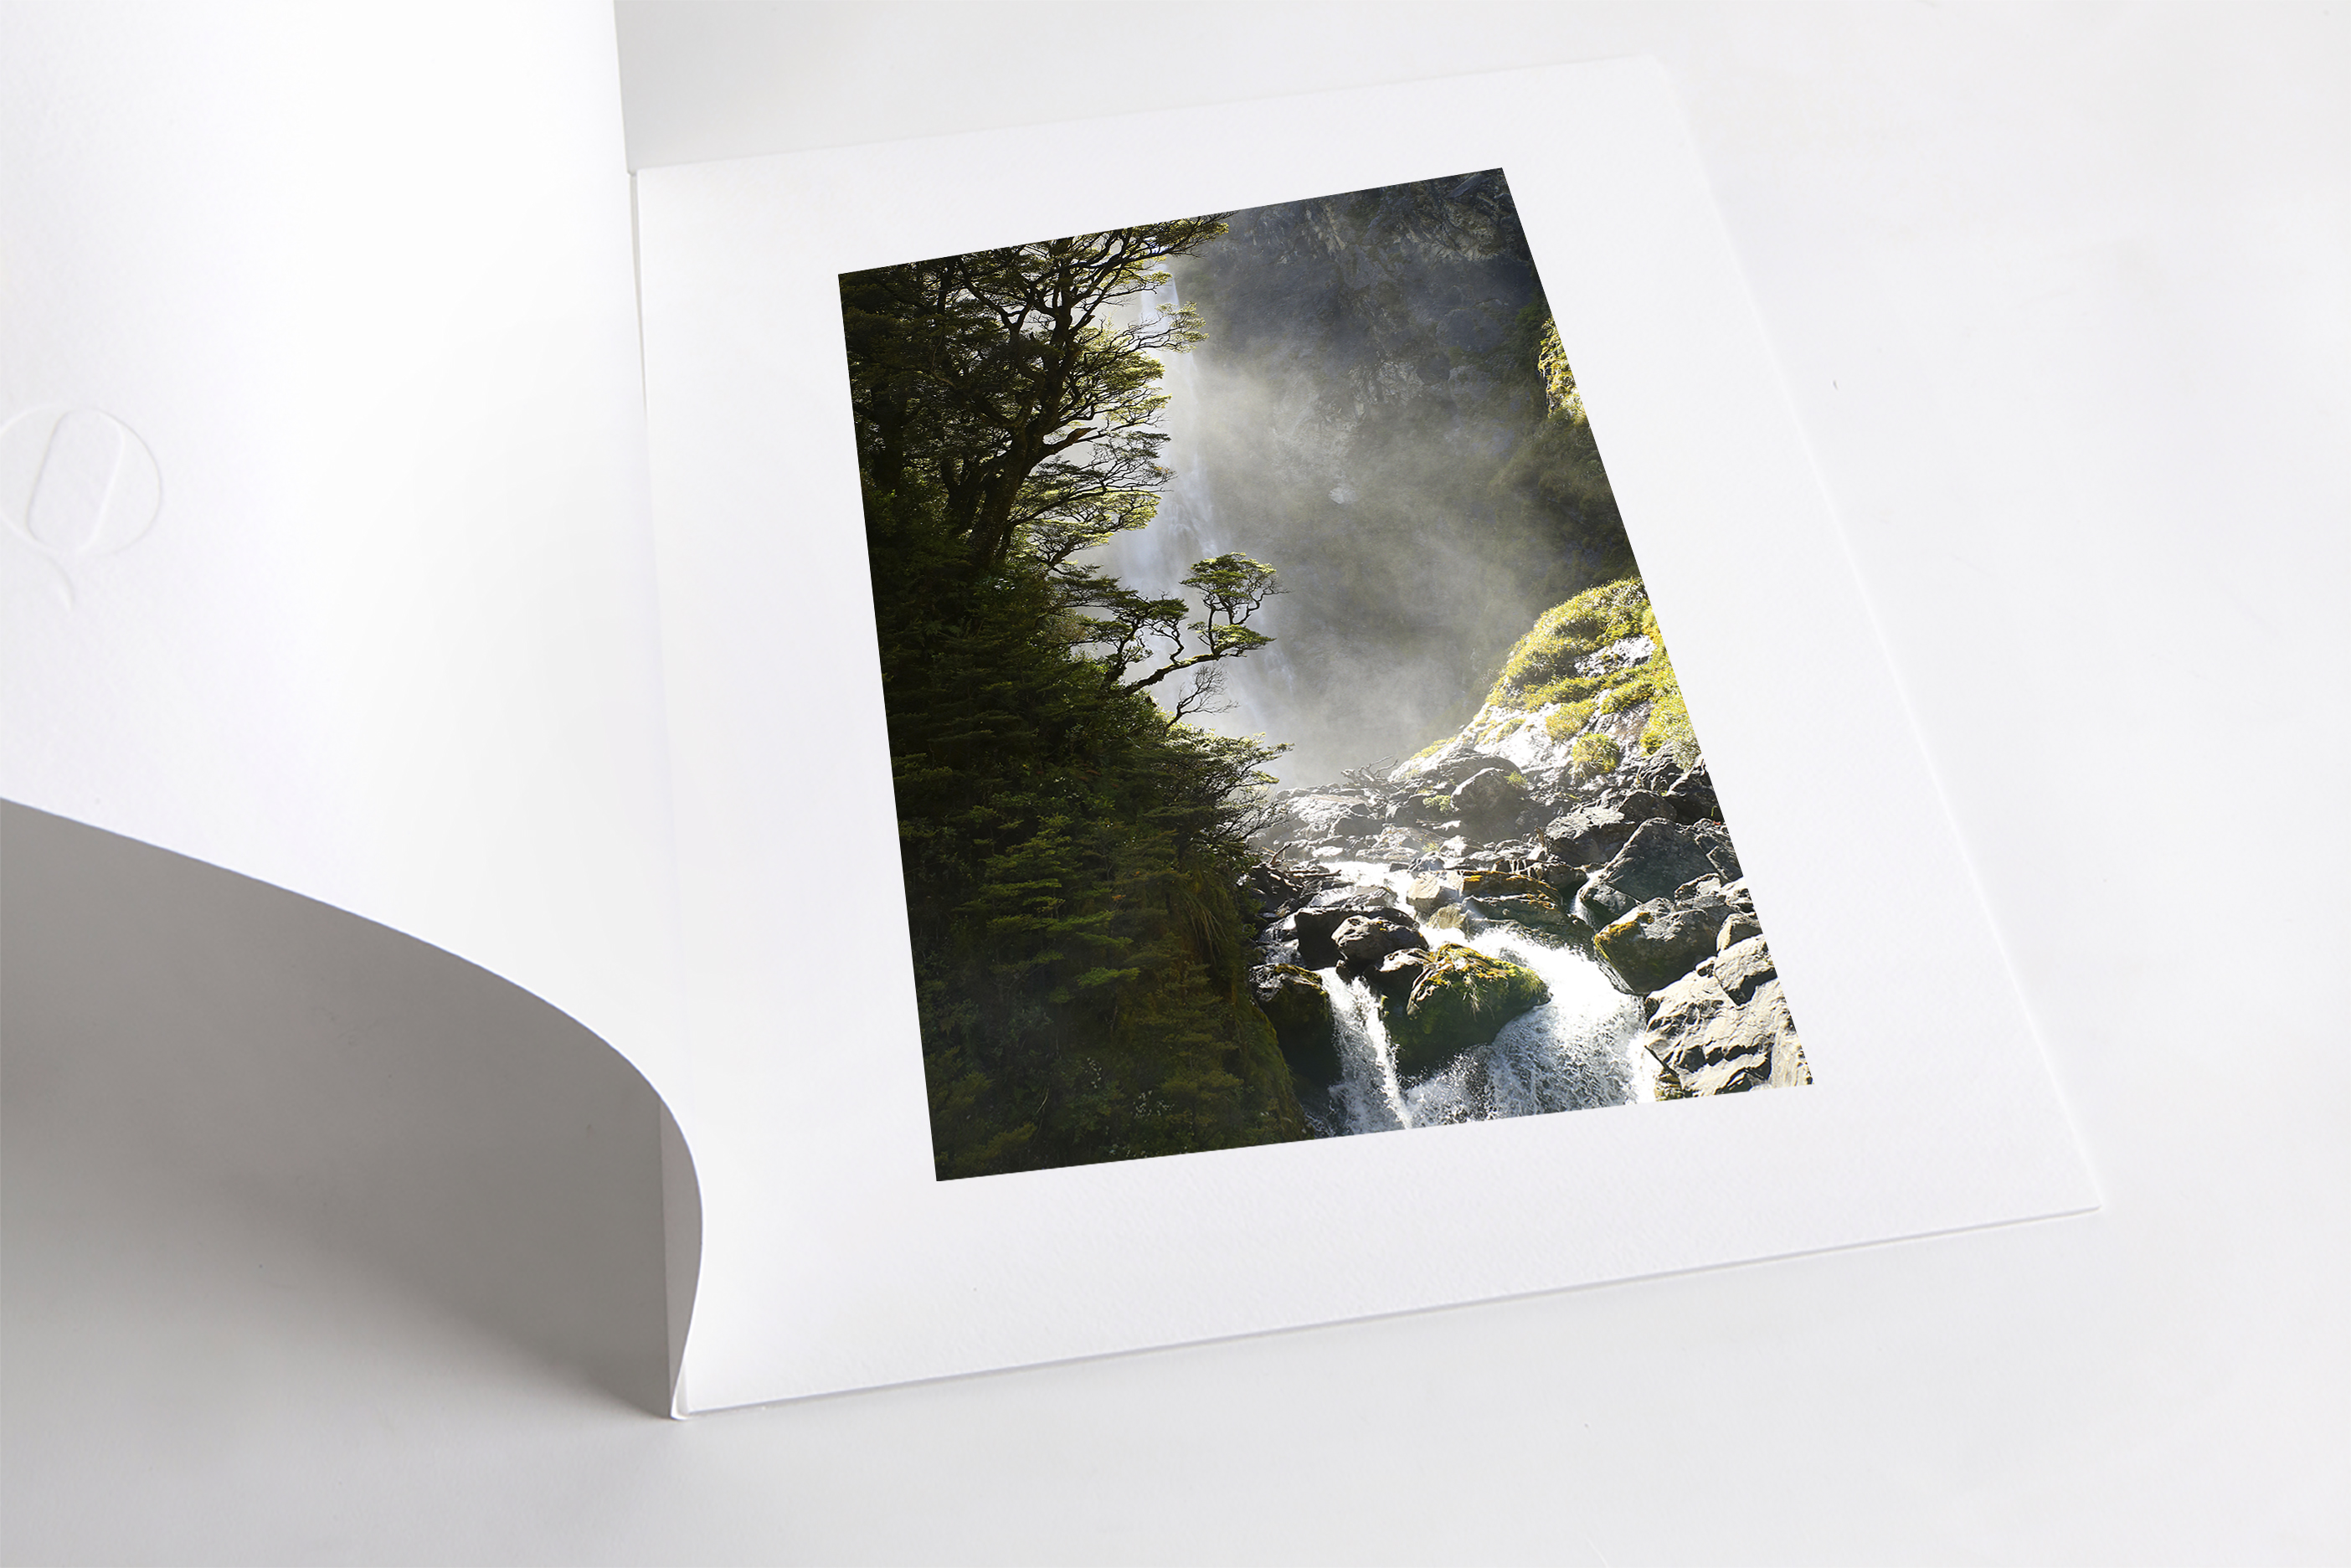
The most traditional way to display your images are to print on paper. There are many options of paper and I have chosen one to offer my clients, the Museum Quality Fine Art Smooth cotton rag paper from Queensberry. (Of course I can supply images on different papers if requested.)
The 100% cotton rag paper gives beautiful colour reproduction, incredible details and is the best quality paper on offer. I am thrilled with the reproduction of this paper.
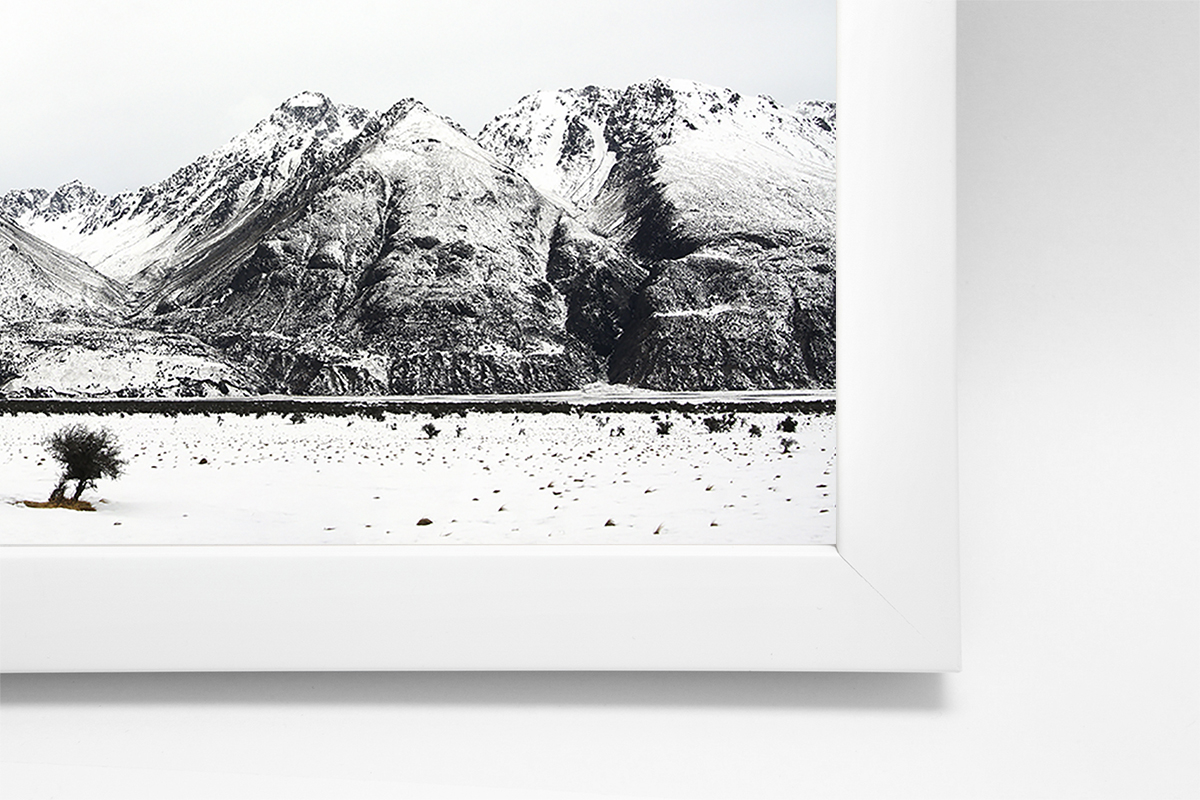
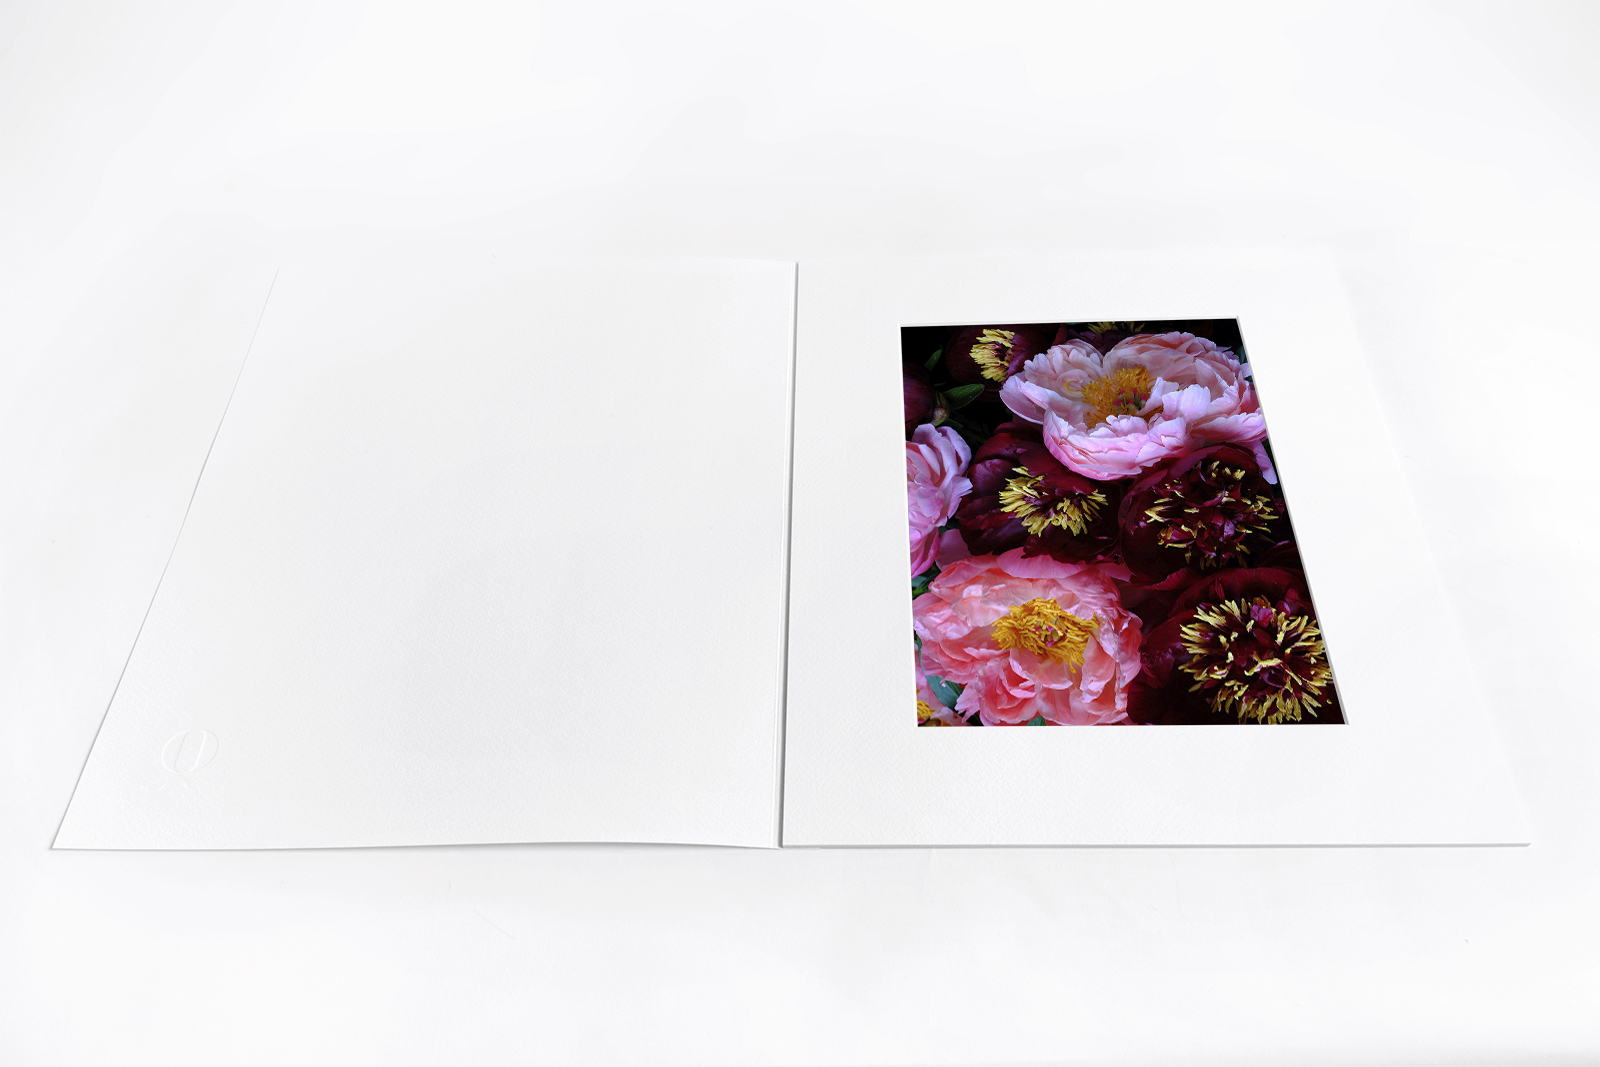
The mats are black or white and if you would prefer the images to be printed to the edge of the frame with no mat just let me know before ordering.
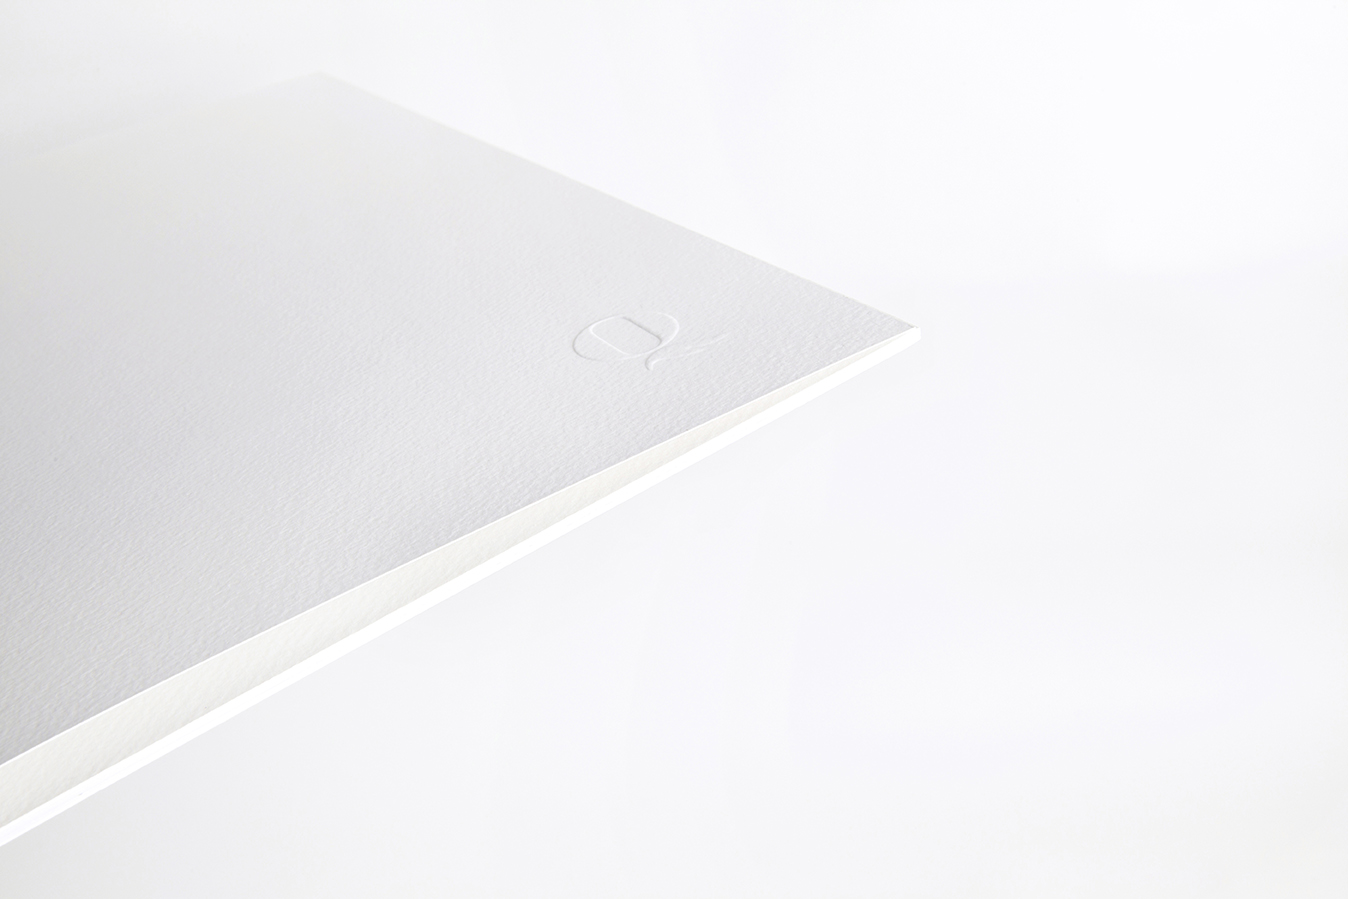
The frames are handmade to order by Queensberry and I offer three colours, Black, White and Oak.
For the canvas prints I am offering these in fine art Cotton-polyester canvas; Fine Art inkjet printing; museum grade lacquer (lustre finish, protects against moisture, abrasion and UV damage). This is a great advantage for your canvas prints.
These are also handmade to order.
I hope this has been helpful, if you have any questions or anything you would like to see on the blog, just send me a message. I love to hear from you.
Pam x
I thought I would explain more about the Matted Prints I am offering.
I wanted to offer some smaller images. The Matted Prints have the print in place and come with an embossed cover sheet to protect the mat and the print. They can be left as they are or you can frame them with your own frames if you wish.
They make a lovely quality gift as a treat for yourself or as a gift for someone special which allows them to choose their own frame to suit their tastes.
Printed on premium Museum Quality 100% cotton rag paper which shows the details in the image and will stand the test of time by renowned printers and framers, Queensberry.
The mats are available in black or white.
There are two sizes available 10 x 8in and 14 x 11in.
10x8 mats suit prints in apertures up to 7.5x5in (19x13cm), and the 14x11in mats up to 12x8in (31x20cm). The aperture measurement is the measurement of your image in the mat.
For displaying your smaller artworks the rule of odd numbers is a good one to use for displaying art, plantings in the garden or other display areas.
Displaying your smaller artworks is a matter of personal taste and of course all rules are made to be broken, but generally odd numbers are more interesting to the eye.
I hope you are enjoying your week, I am so over rainy days, although it allows me to get more computer work done, not my favourite job. Raz of course is asleep at my feet, only getting up when I leave the office.
Kind regards,
Pam x
P.S.
The images in the mats shown on the right are not positioned as they would be in the purchased Matted Prints. They are a little cropped to fit the image. The Matted Prints would have the whole image as shown on the website.


loading...


loading...


loading...


loading...


loading...

